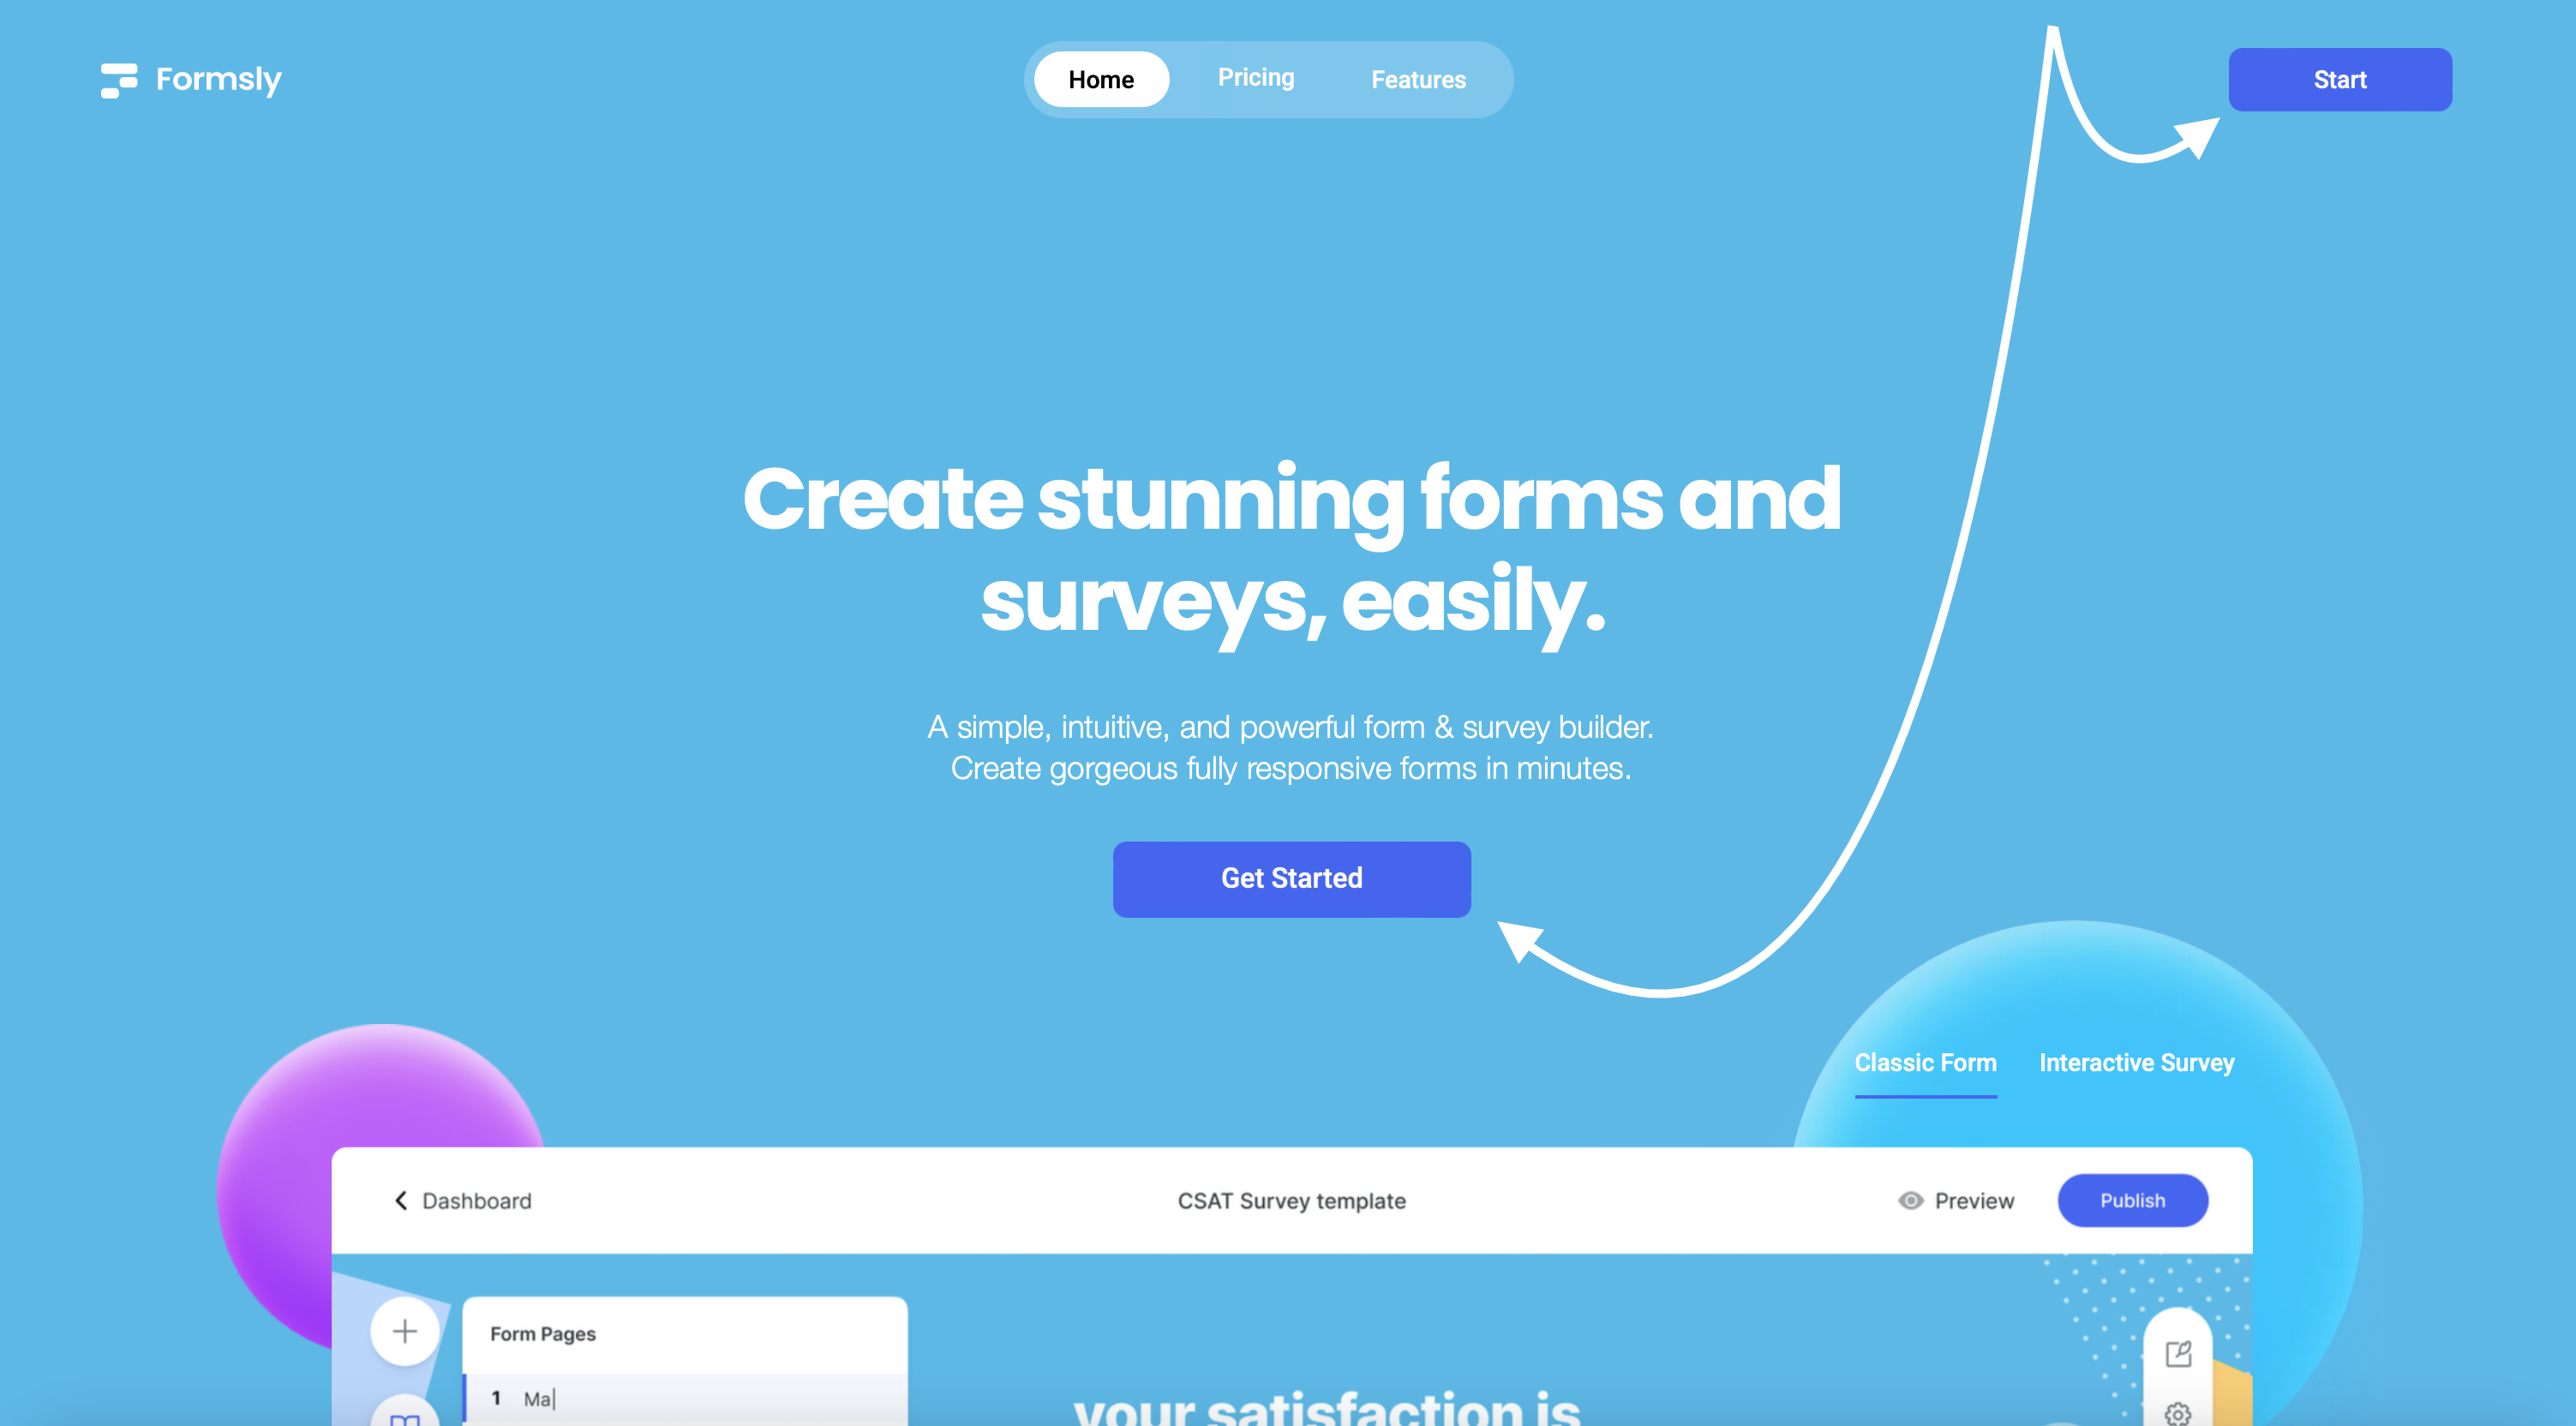
🚀 Your First Form Is 2 Minutes Away
You didn’t come here to read manuals. You came to build a form — fast.
Good news: with Formsly, your first form is just a couple of clicks away.
This quick guide walks you through the basics: add questions, customize the design, hit publish, and boom — you’re live.
We promise: no coding, no confusion, and no fluff.
Just results.
Step 1: Access Formsly and Log In
- A. Before we unleash your inner Form Ninja 🐢 you gotta Create a Formsly Account – Don't worry, it's free, it's fast and freakishly easy.
- B. Open your web browser and navigate to Formsly.
- C. Click on the "Get Started" or "Start" button.
- D. Enter your email address and password
- E. Click on the "Sign in" button.
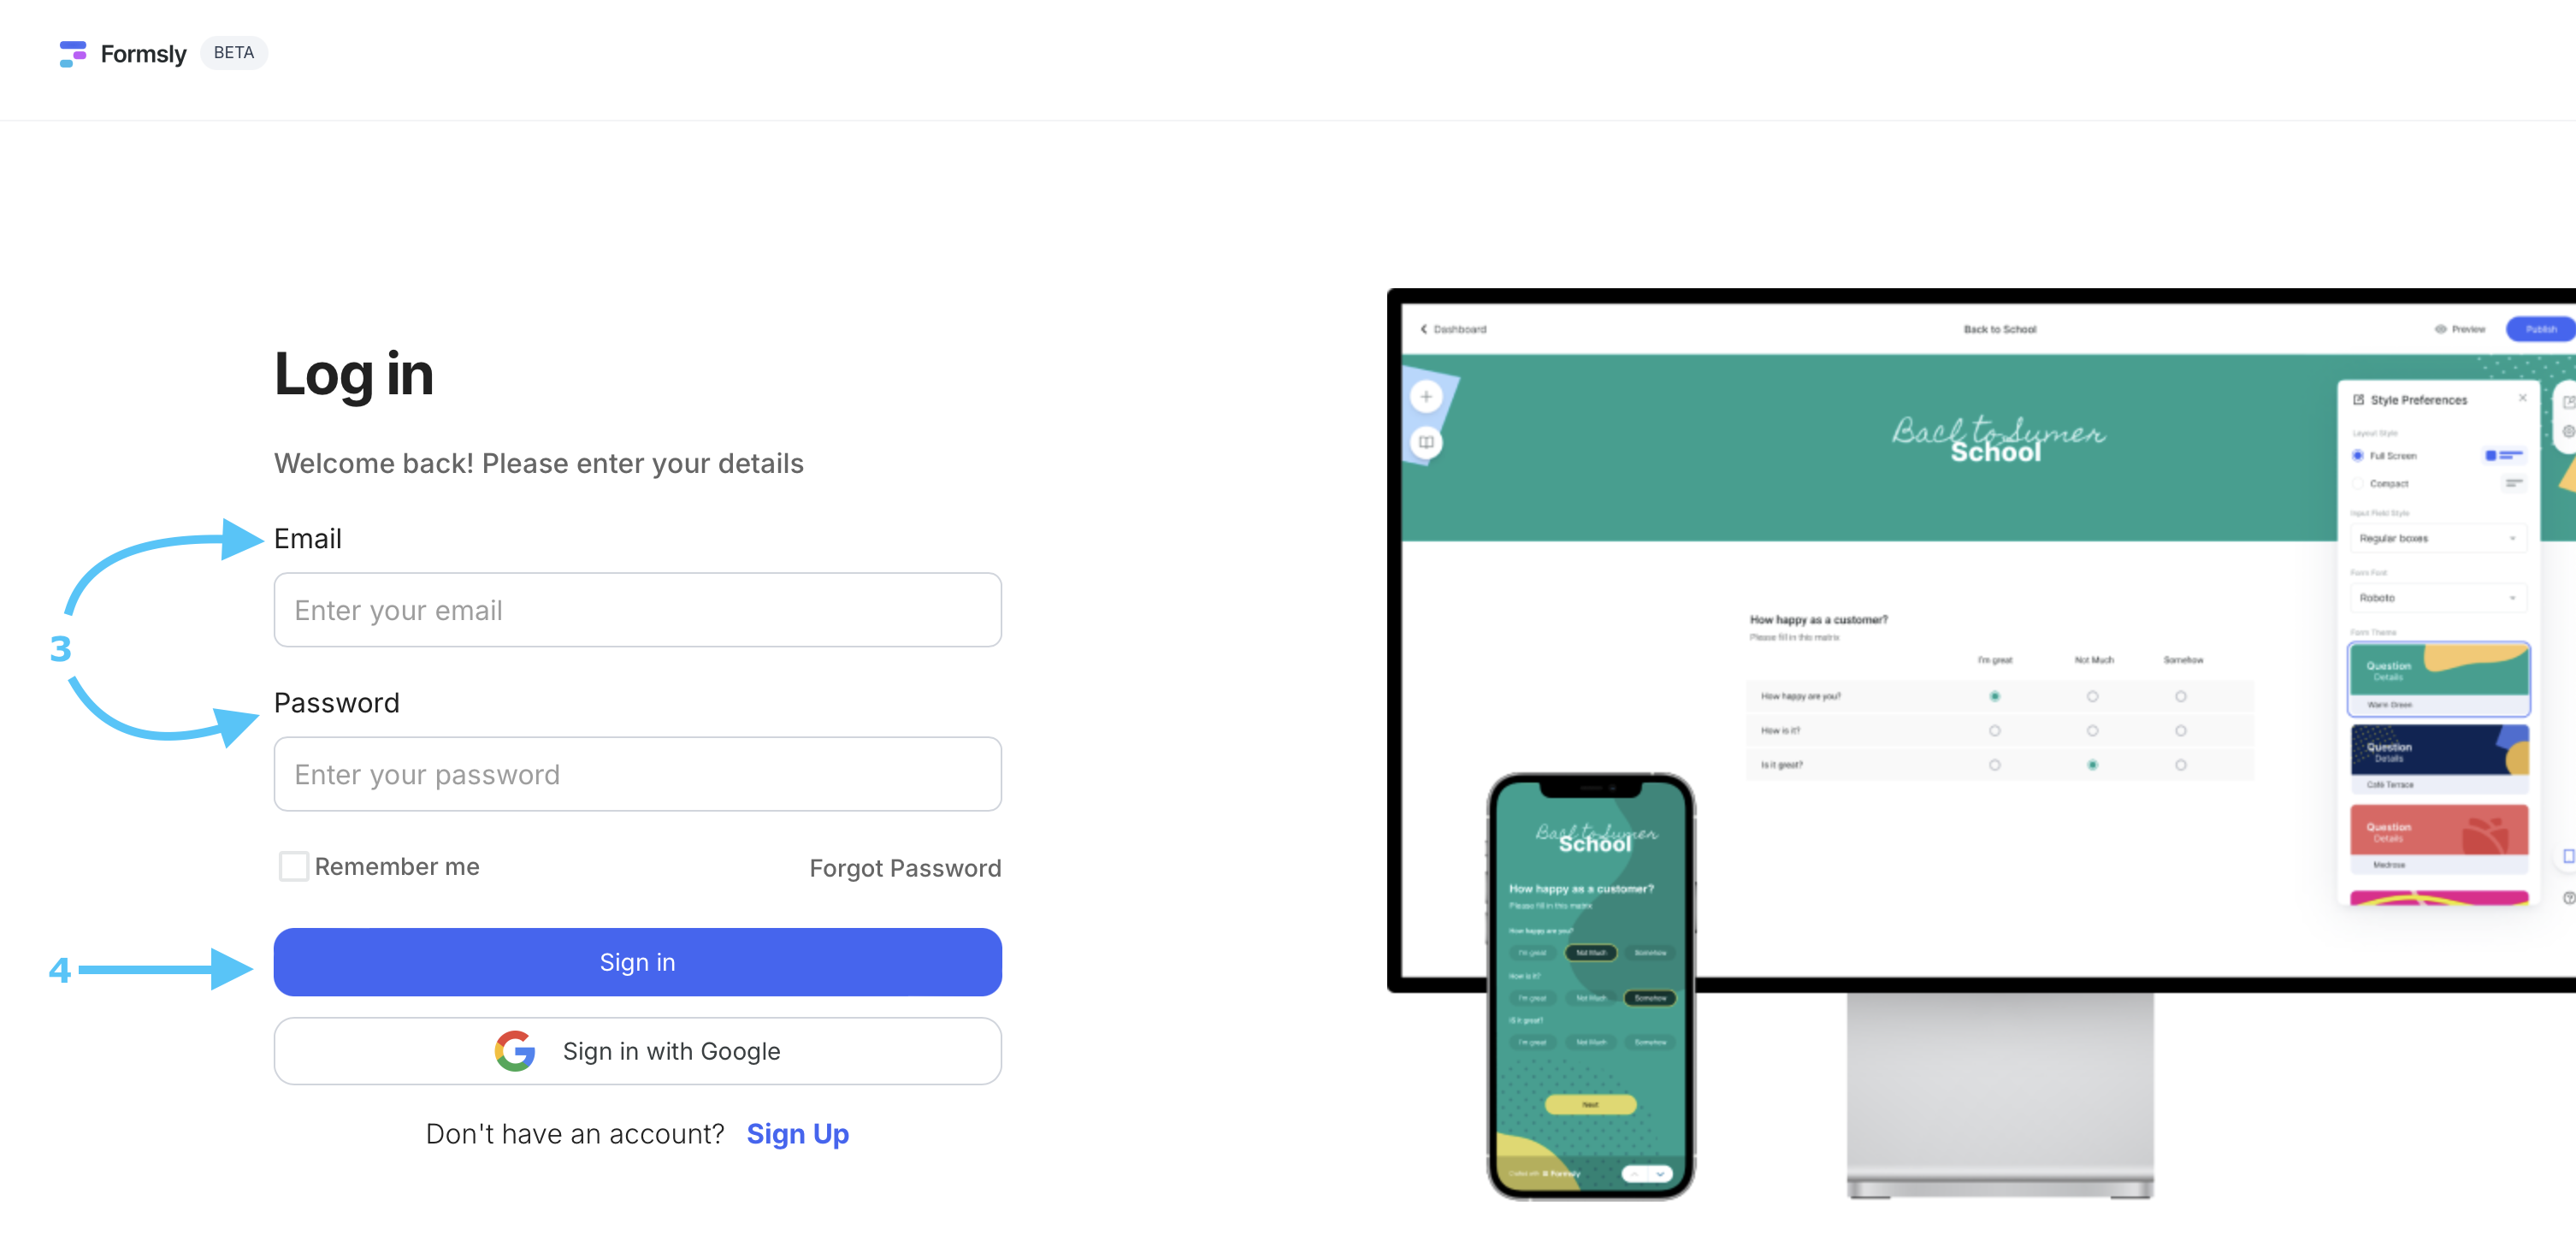
- * If you don't have an account yet, click the "Sign Up" button under the Google Login Button.
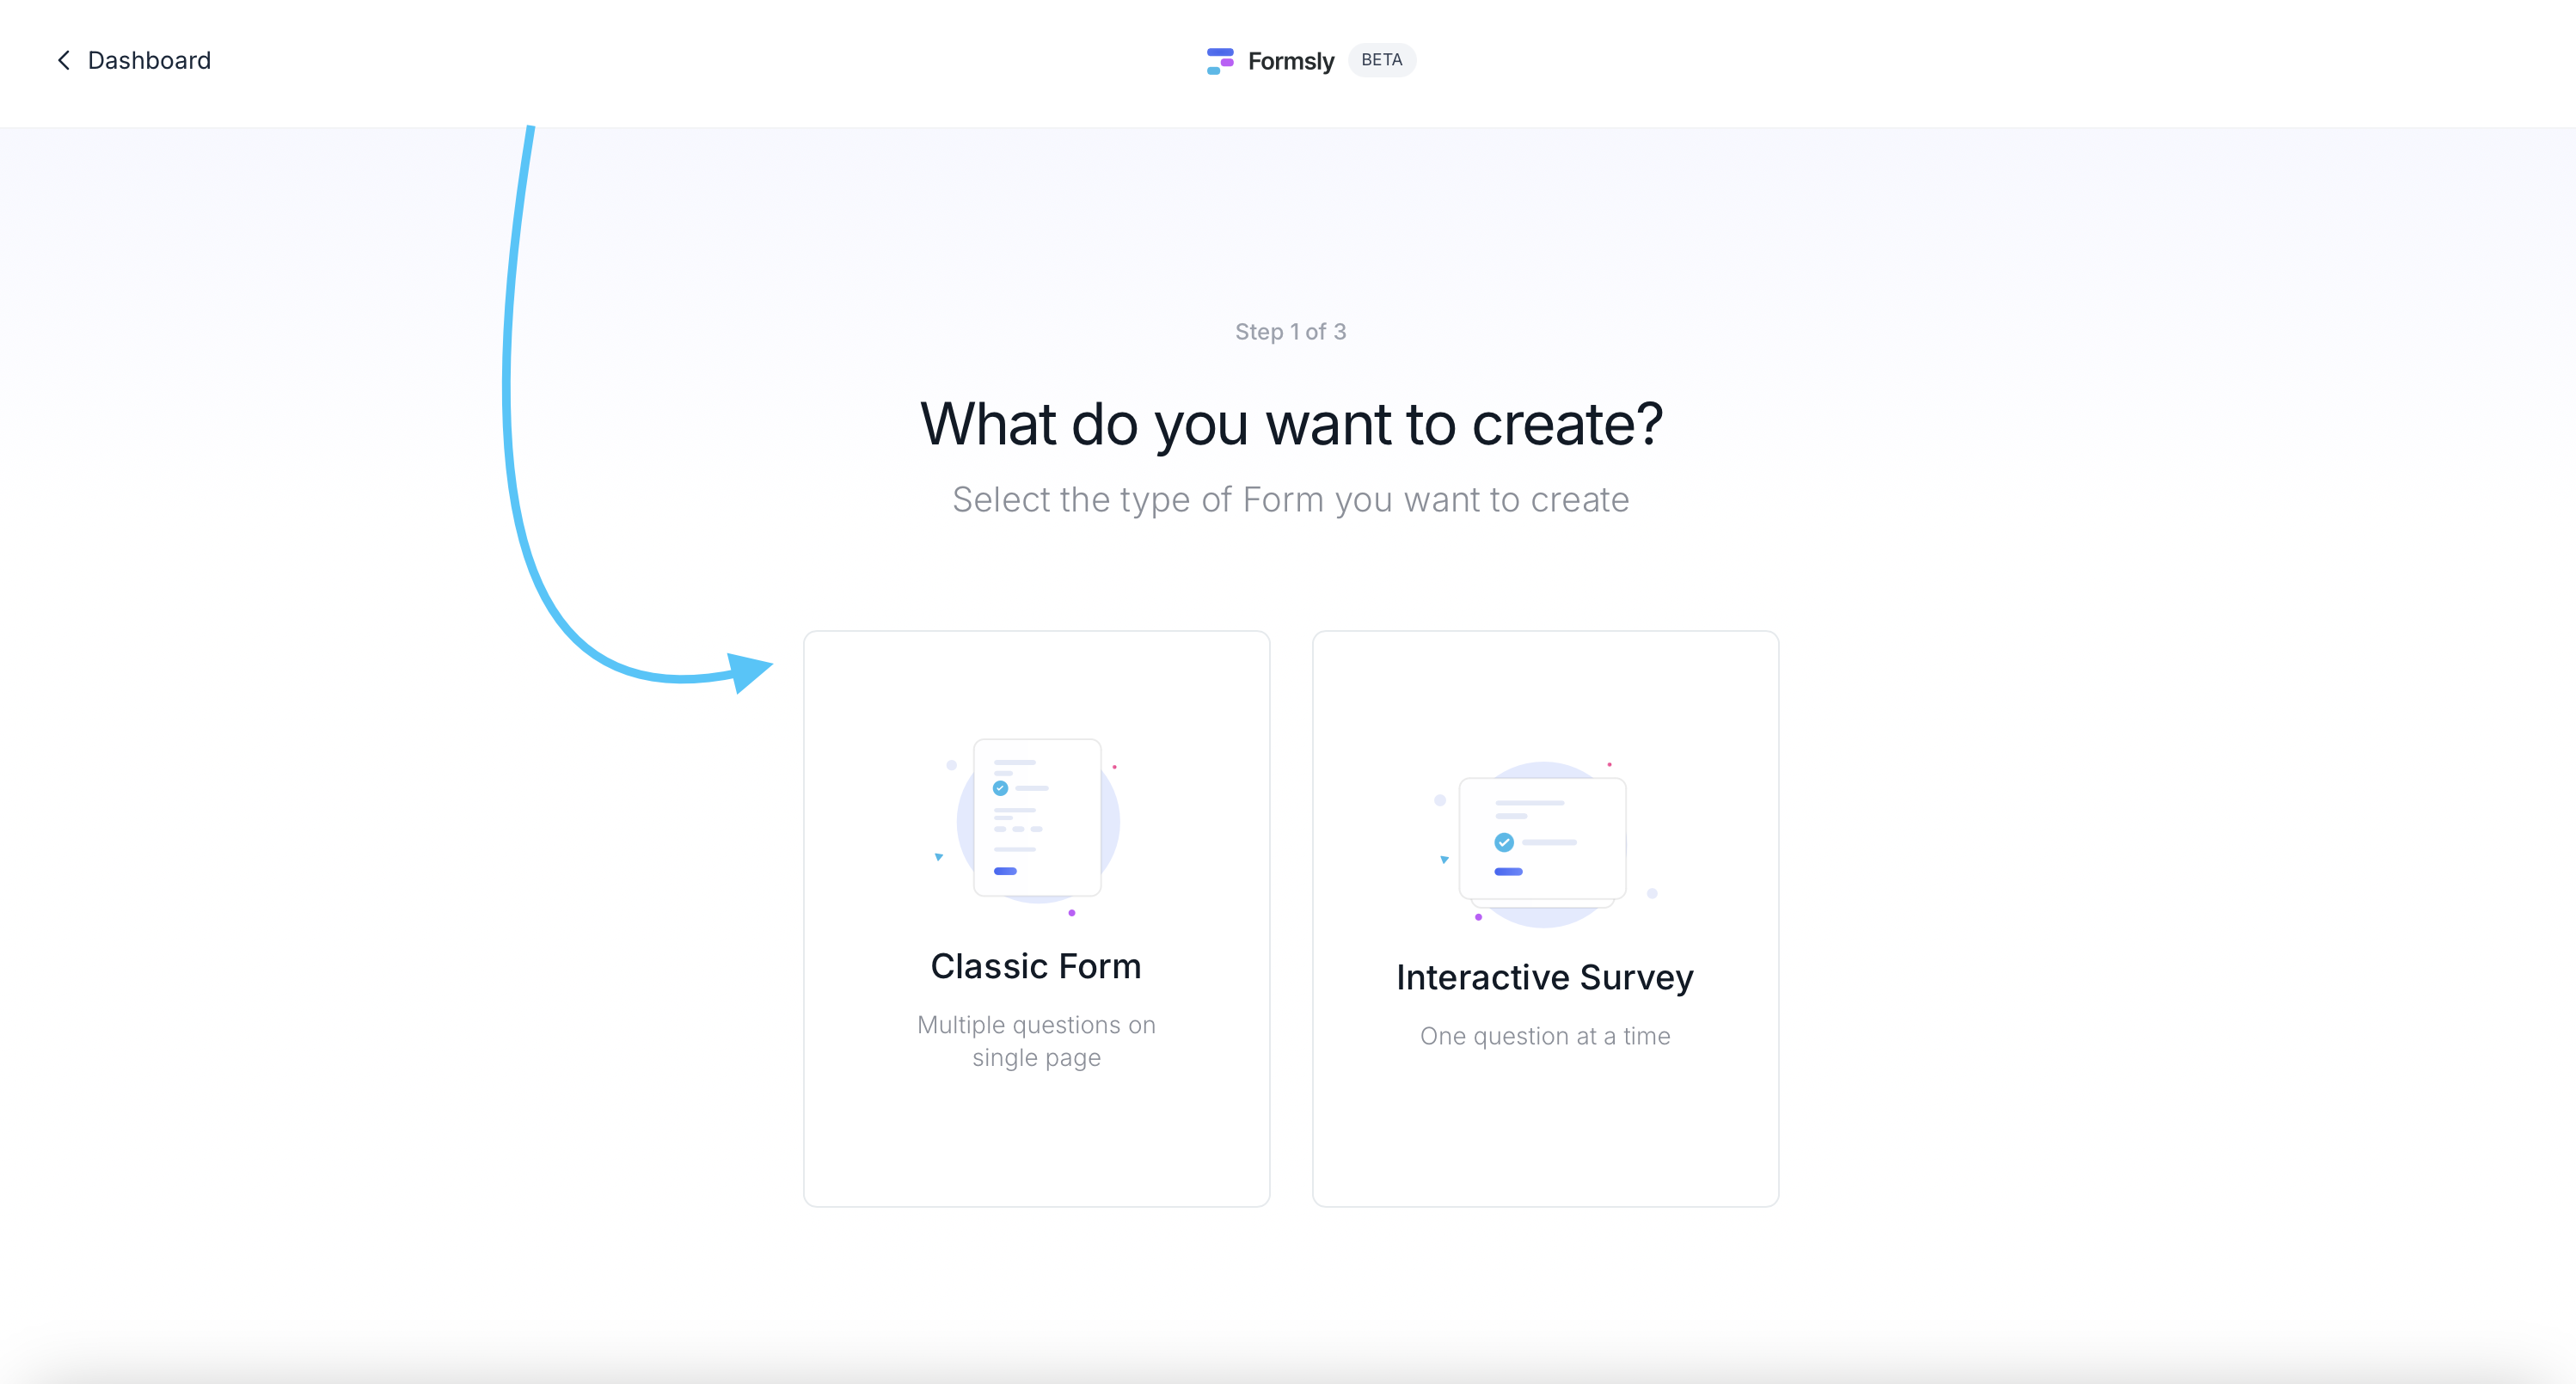
Step 2: Create a New Form
- A. After logging into your account, you'll land in your Dashboard Home Screen. Click on the "New Form" button on the top right side of the dashboard screen.

- B. Choose the form type; Classic or Interactive.
Classic Form allows you to have multiple questions per page and Interactive Survey one question at a time, just like our good friends at Typeform 😉
- C. In the menu that comes up, click Start from Scratch. Later, you can try describing a form and Formsly AI will build it for you.
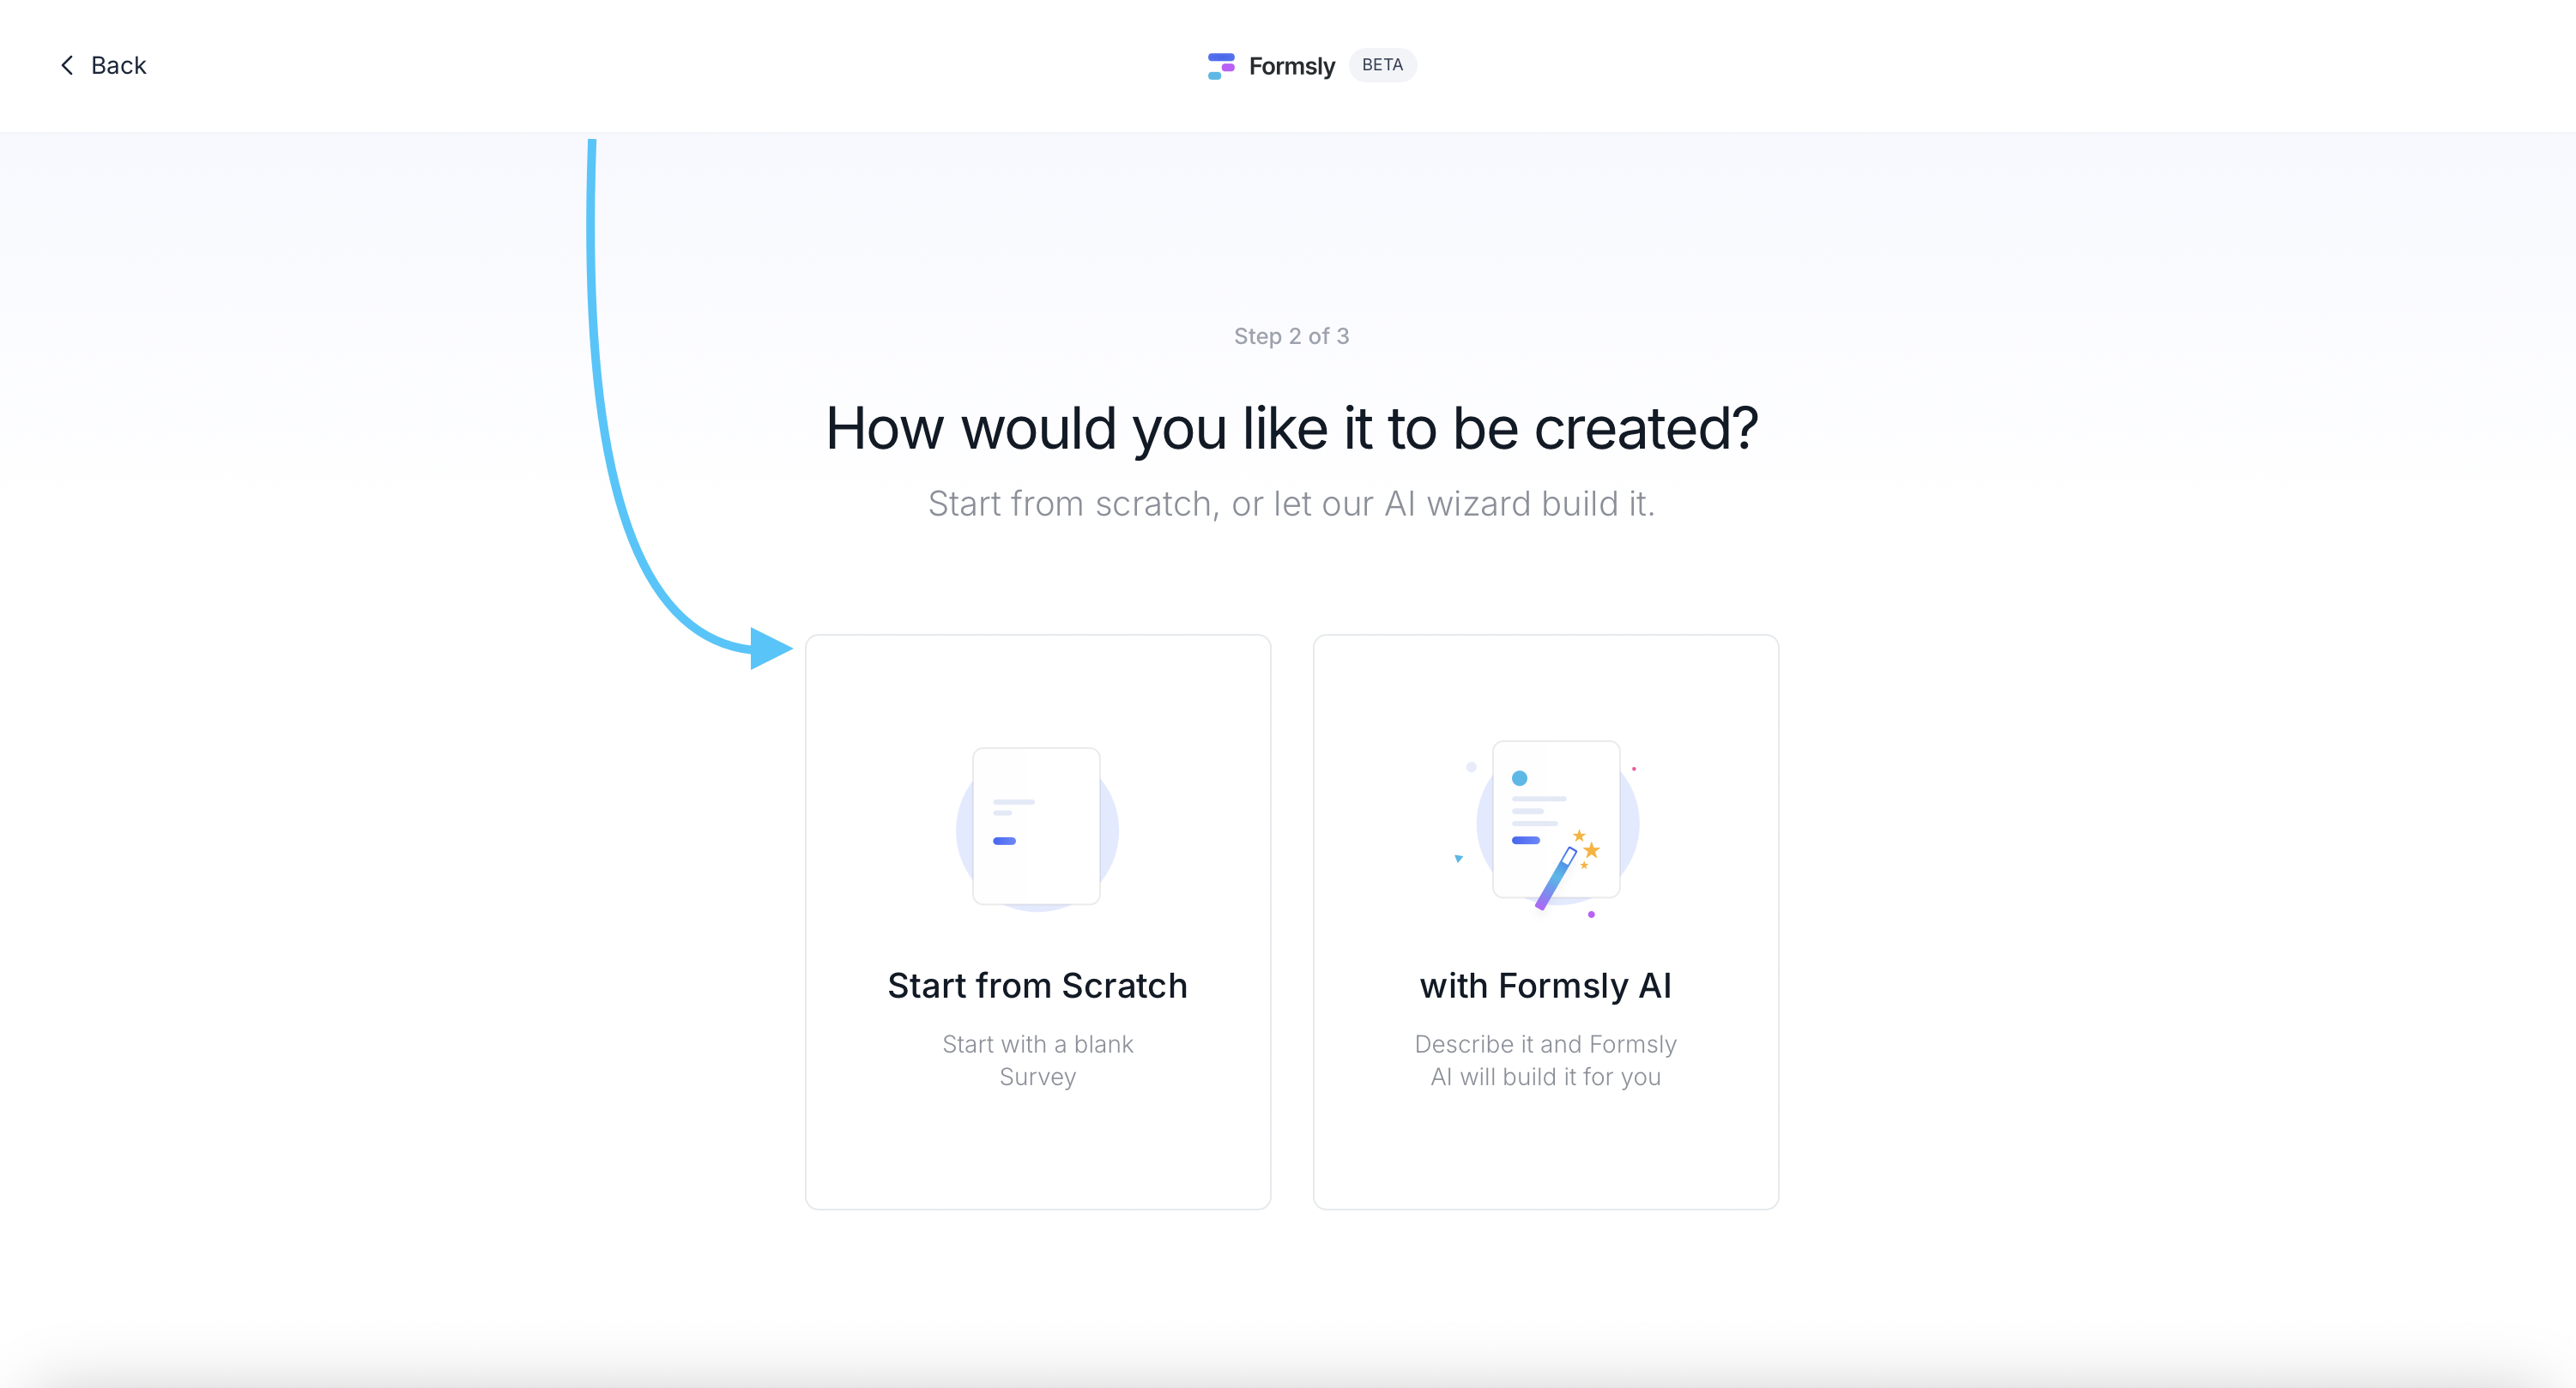
- D. You'll be taken to our builder, where you can create your form. Start with entering a title for your form
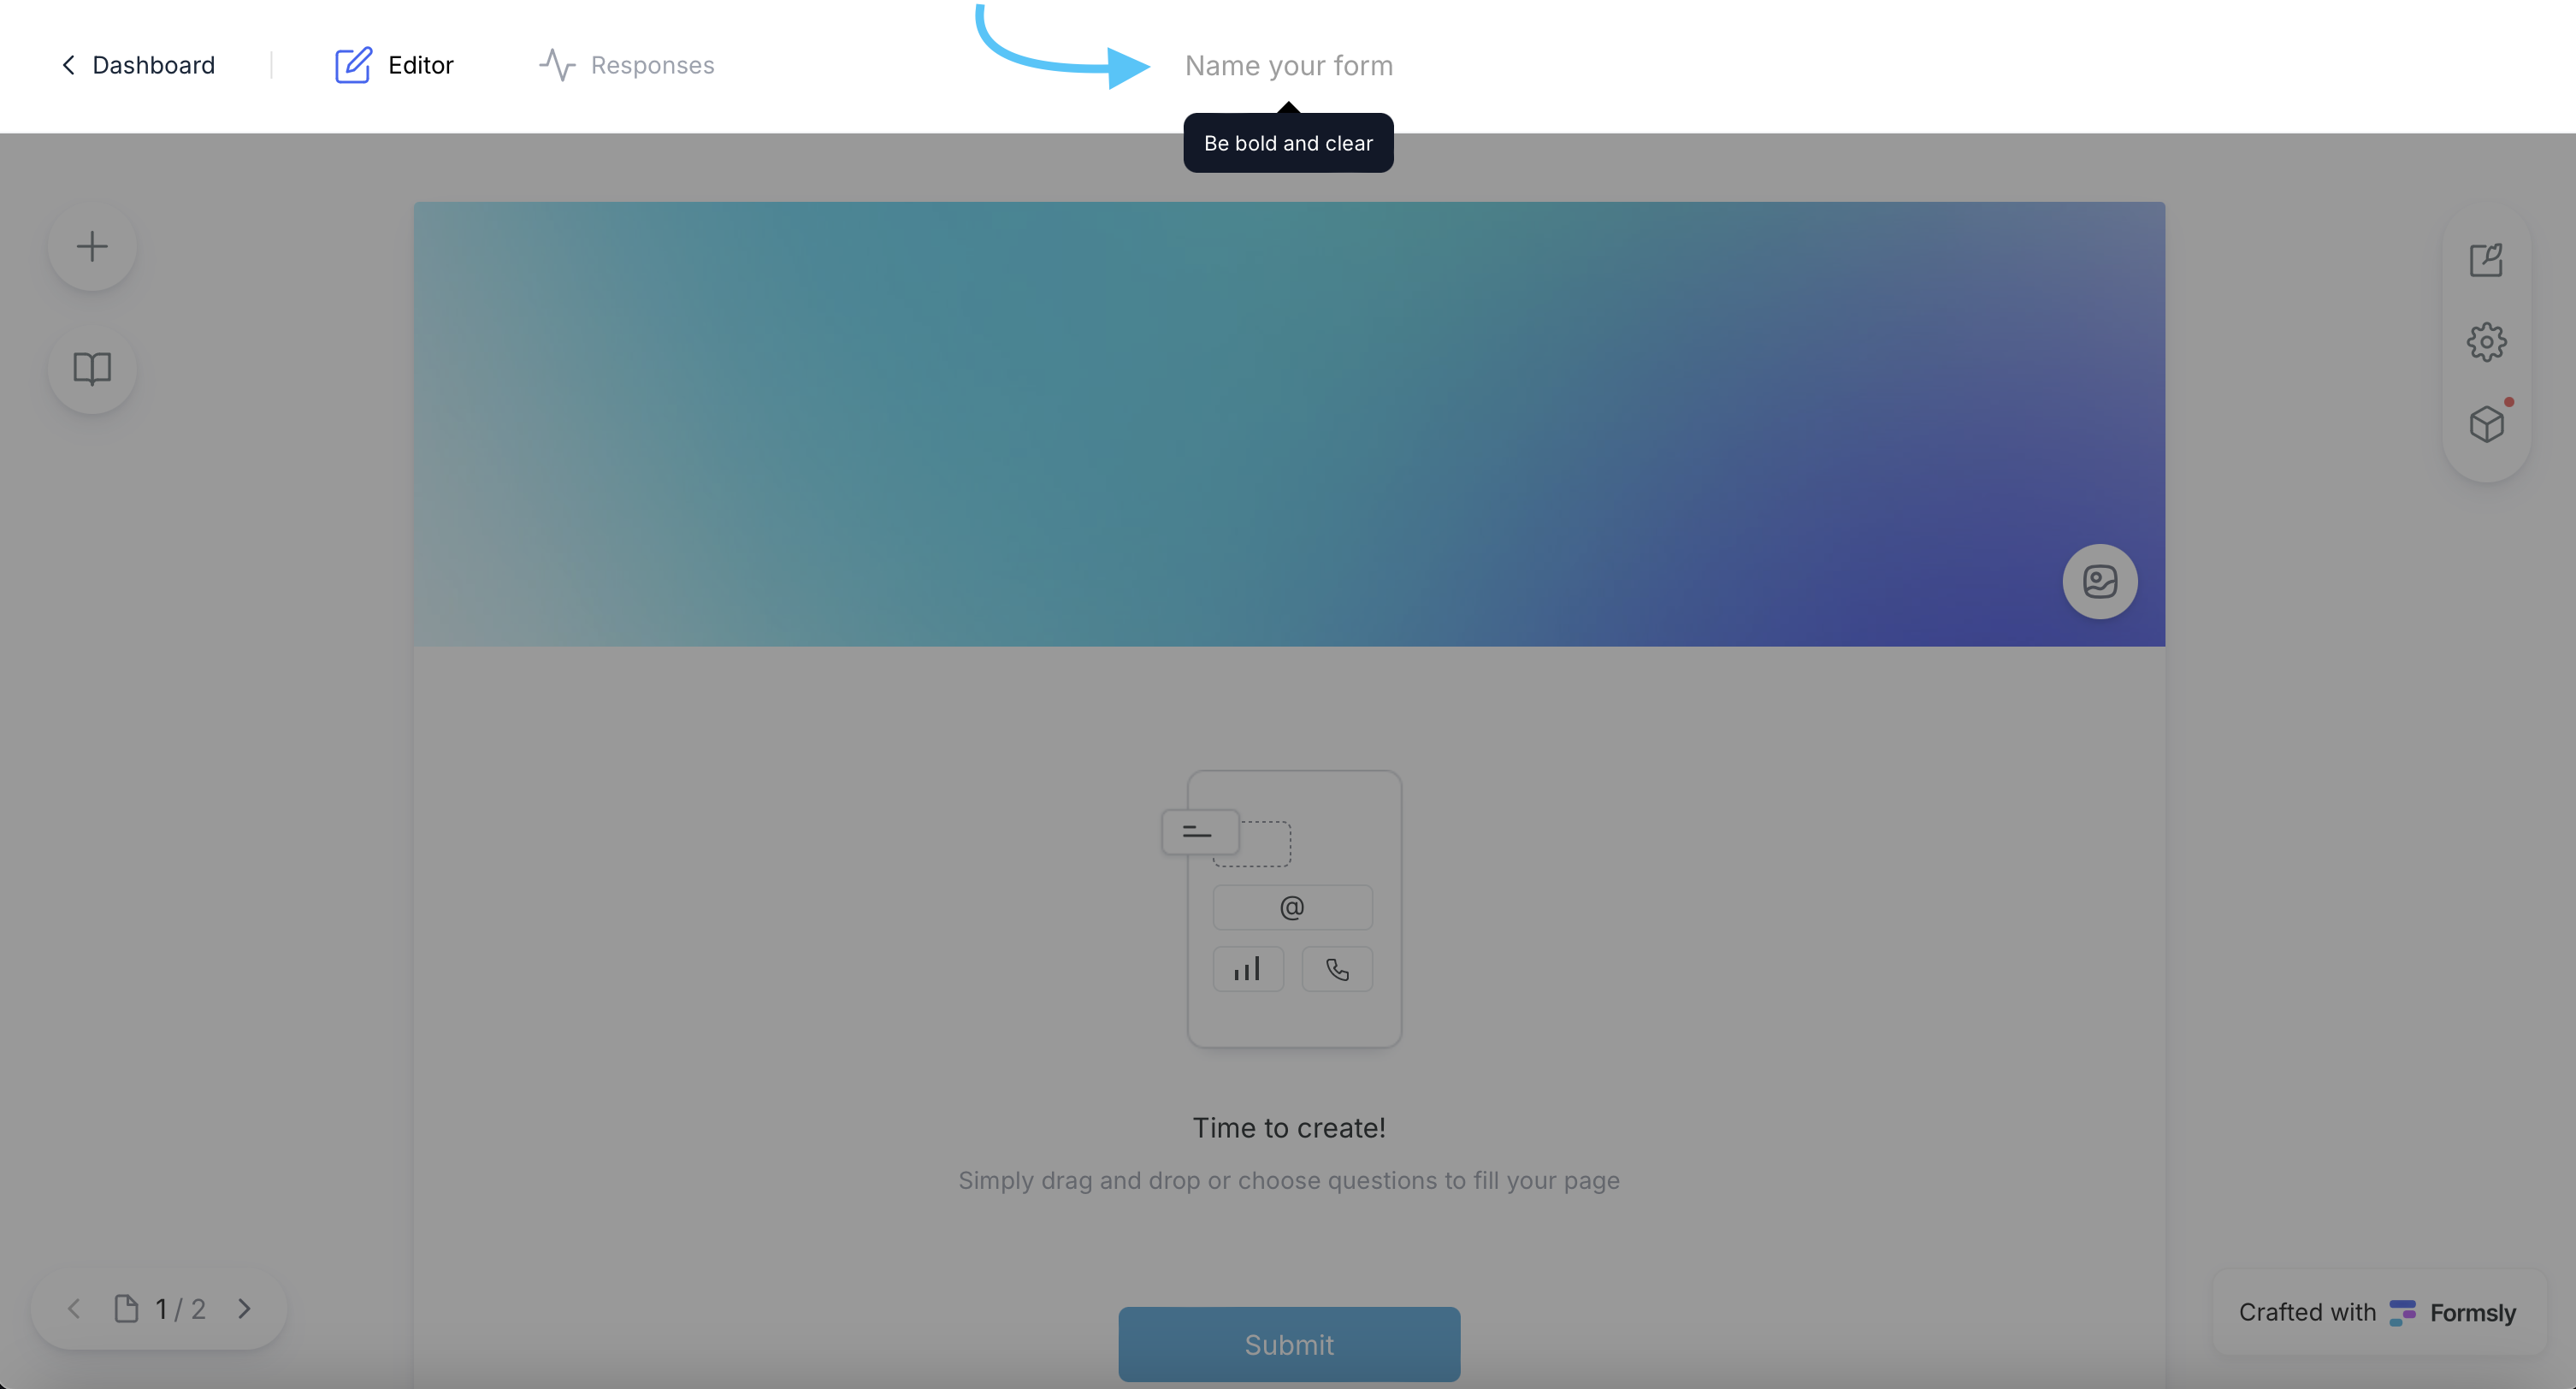
Step 3: Add Questions to Your Form
- A. Click on the "Add Question" button on the top left side.
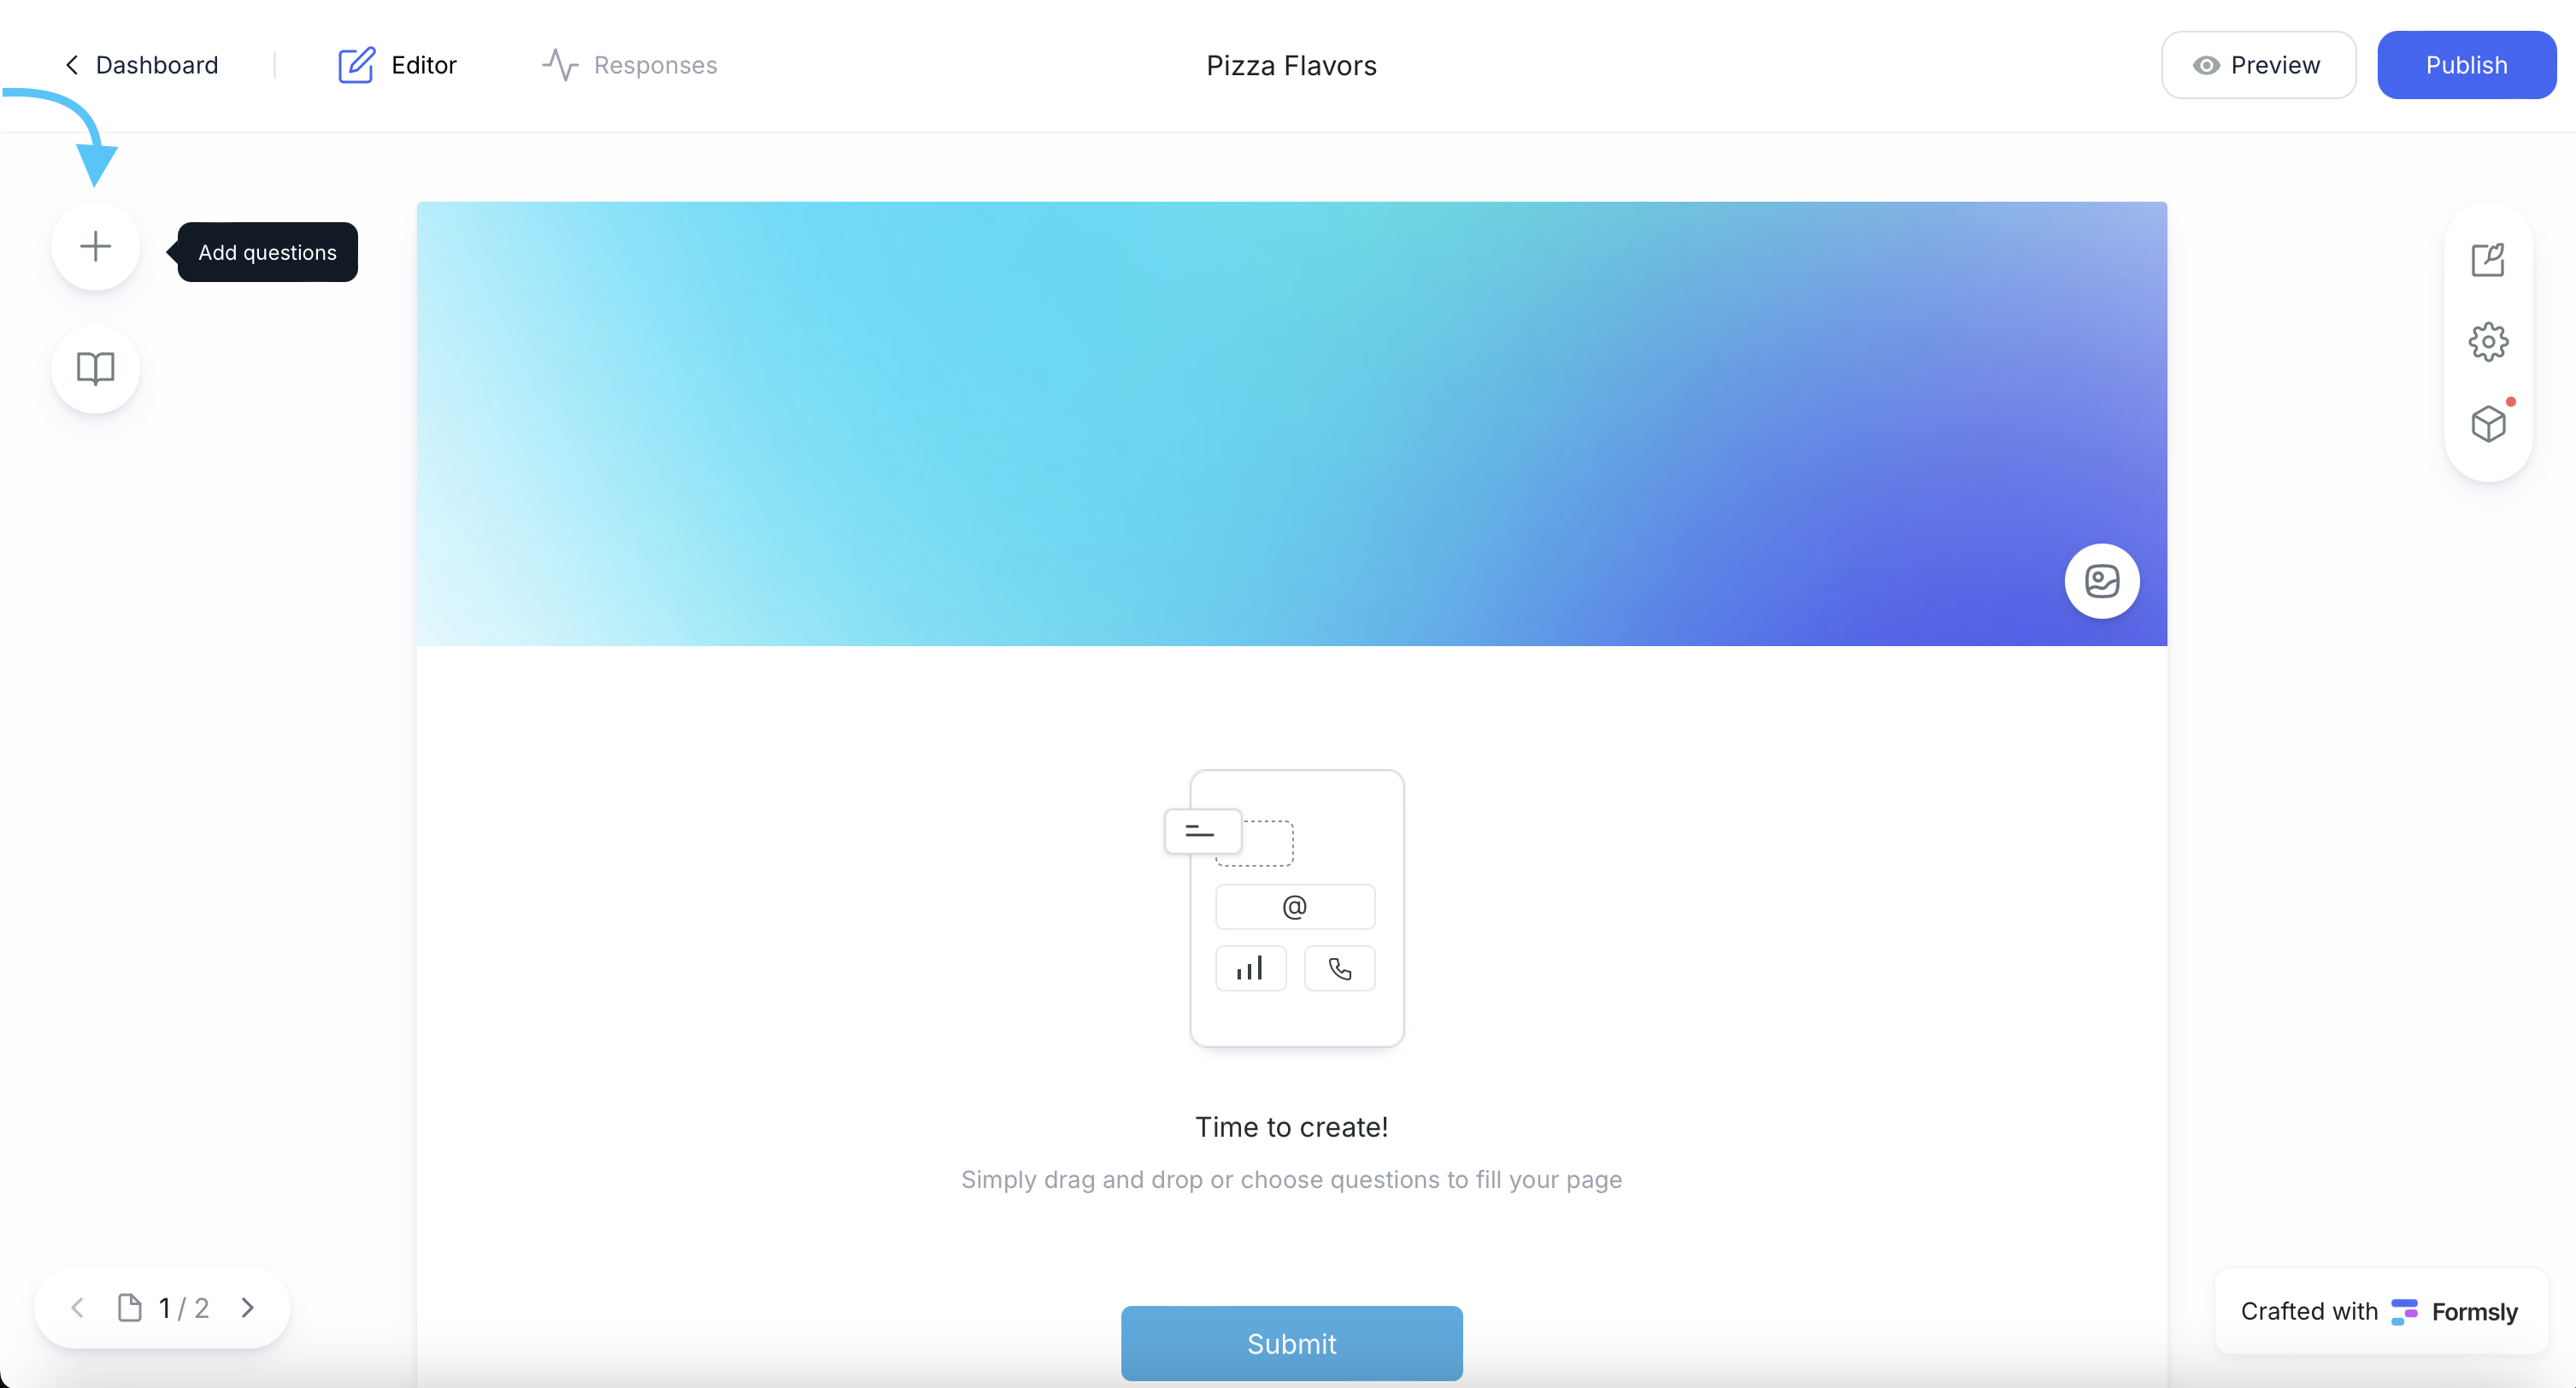
- B. The question menu will pop up, choose the type of question you want to add.
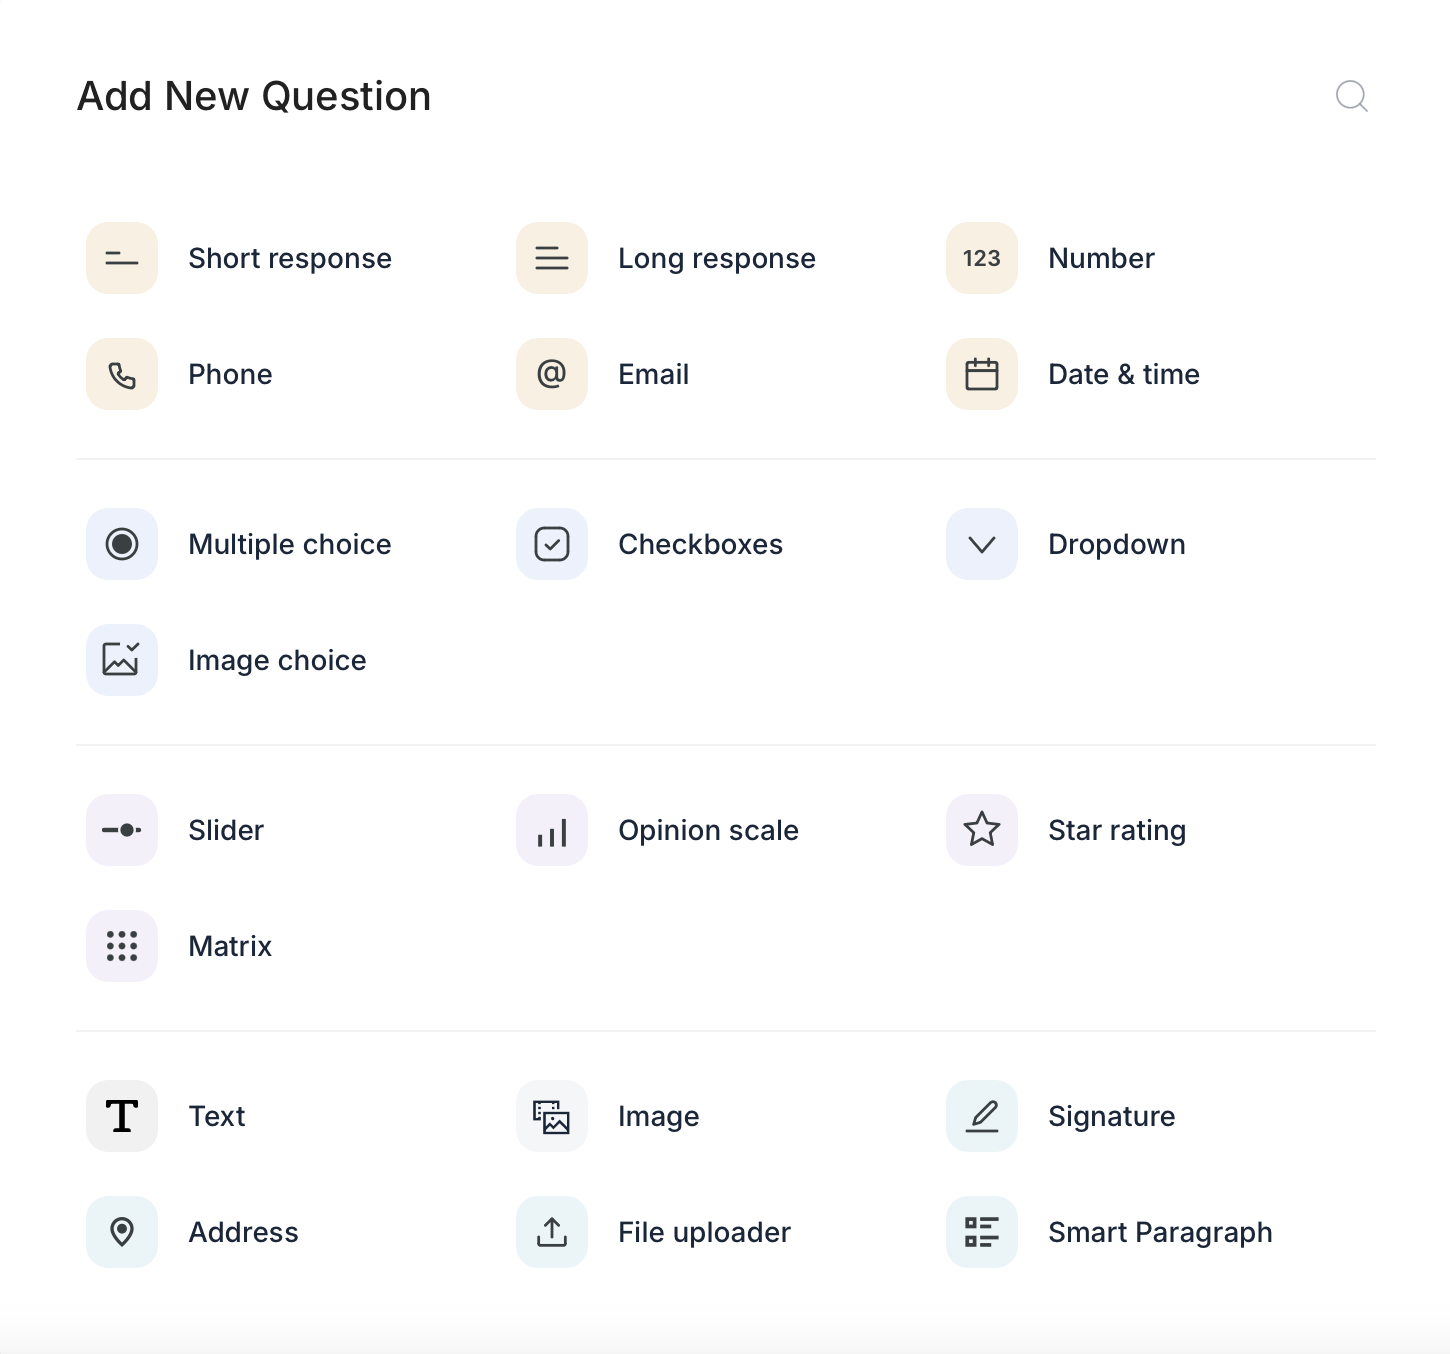
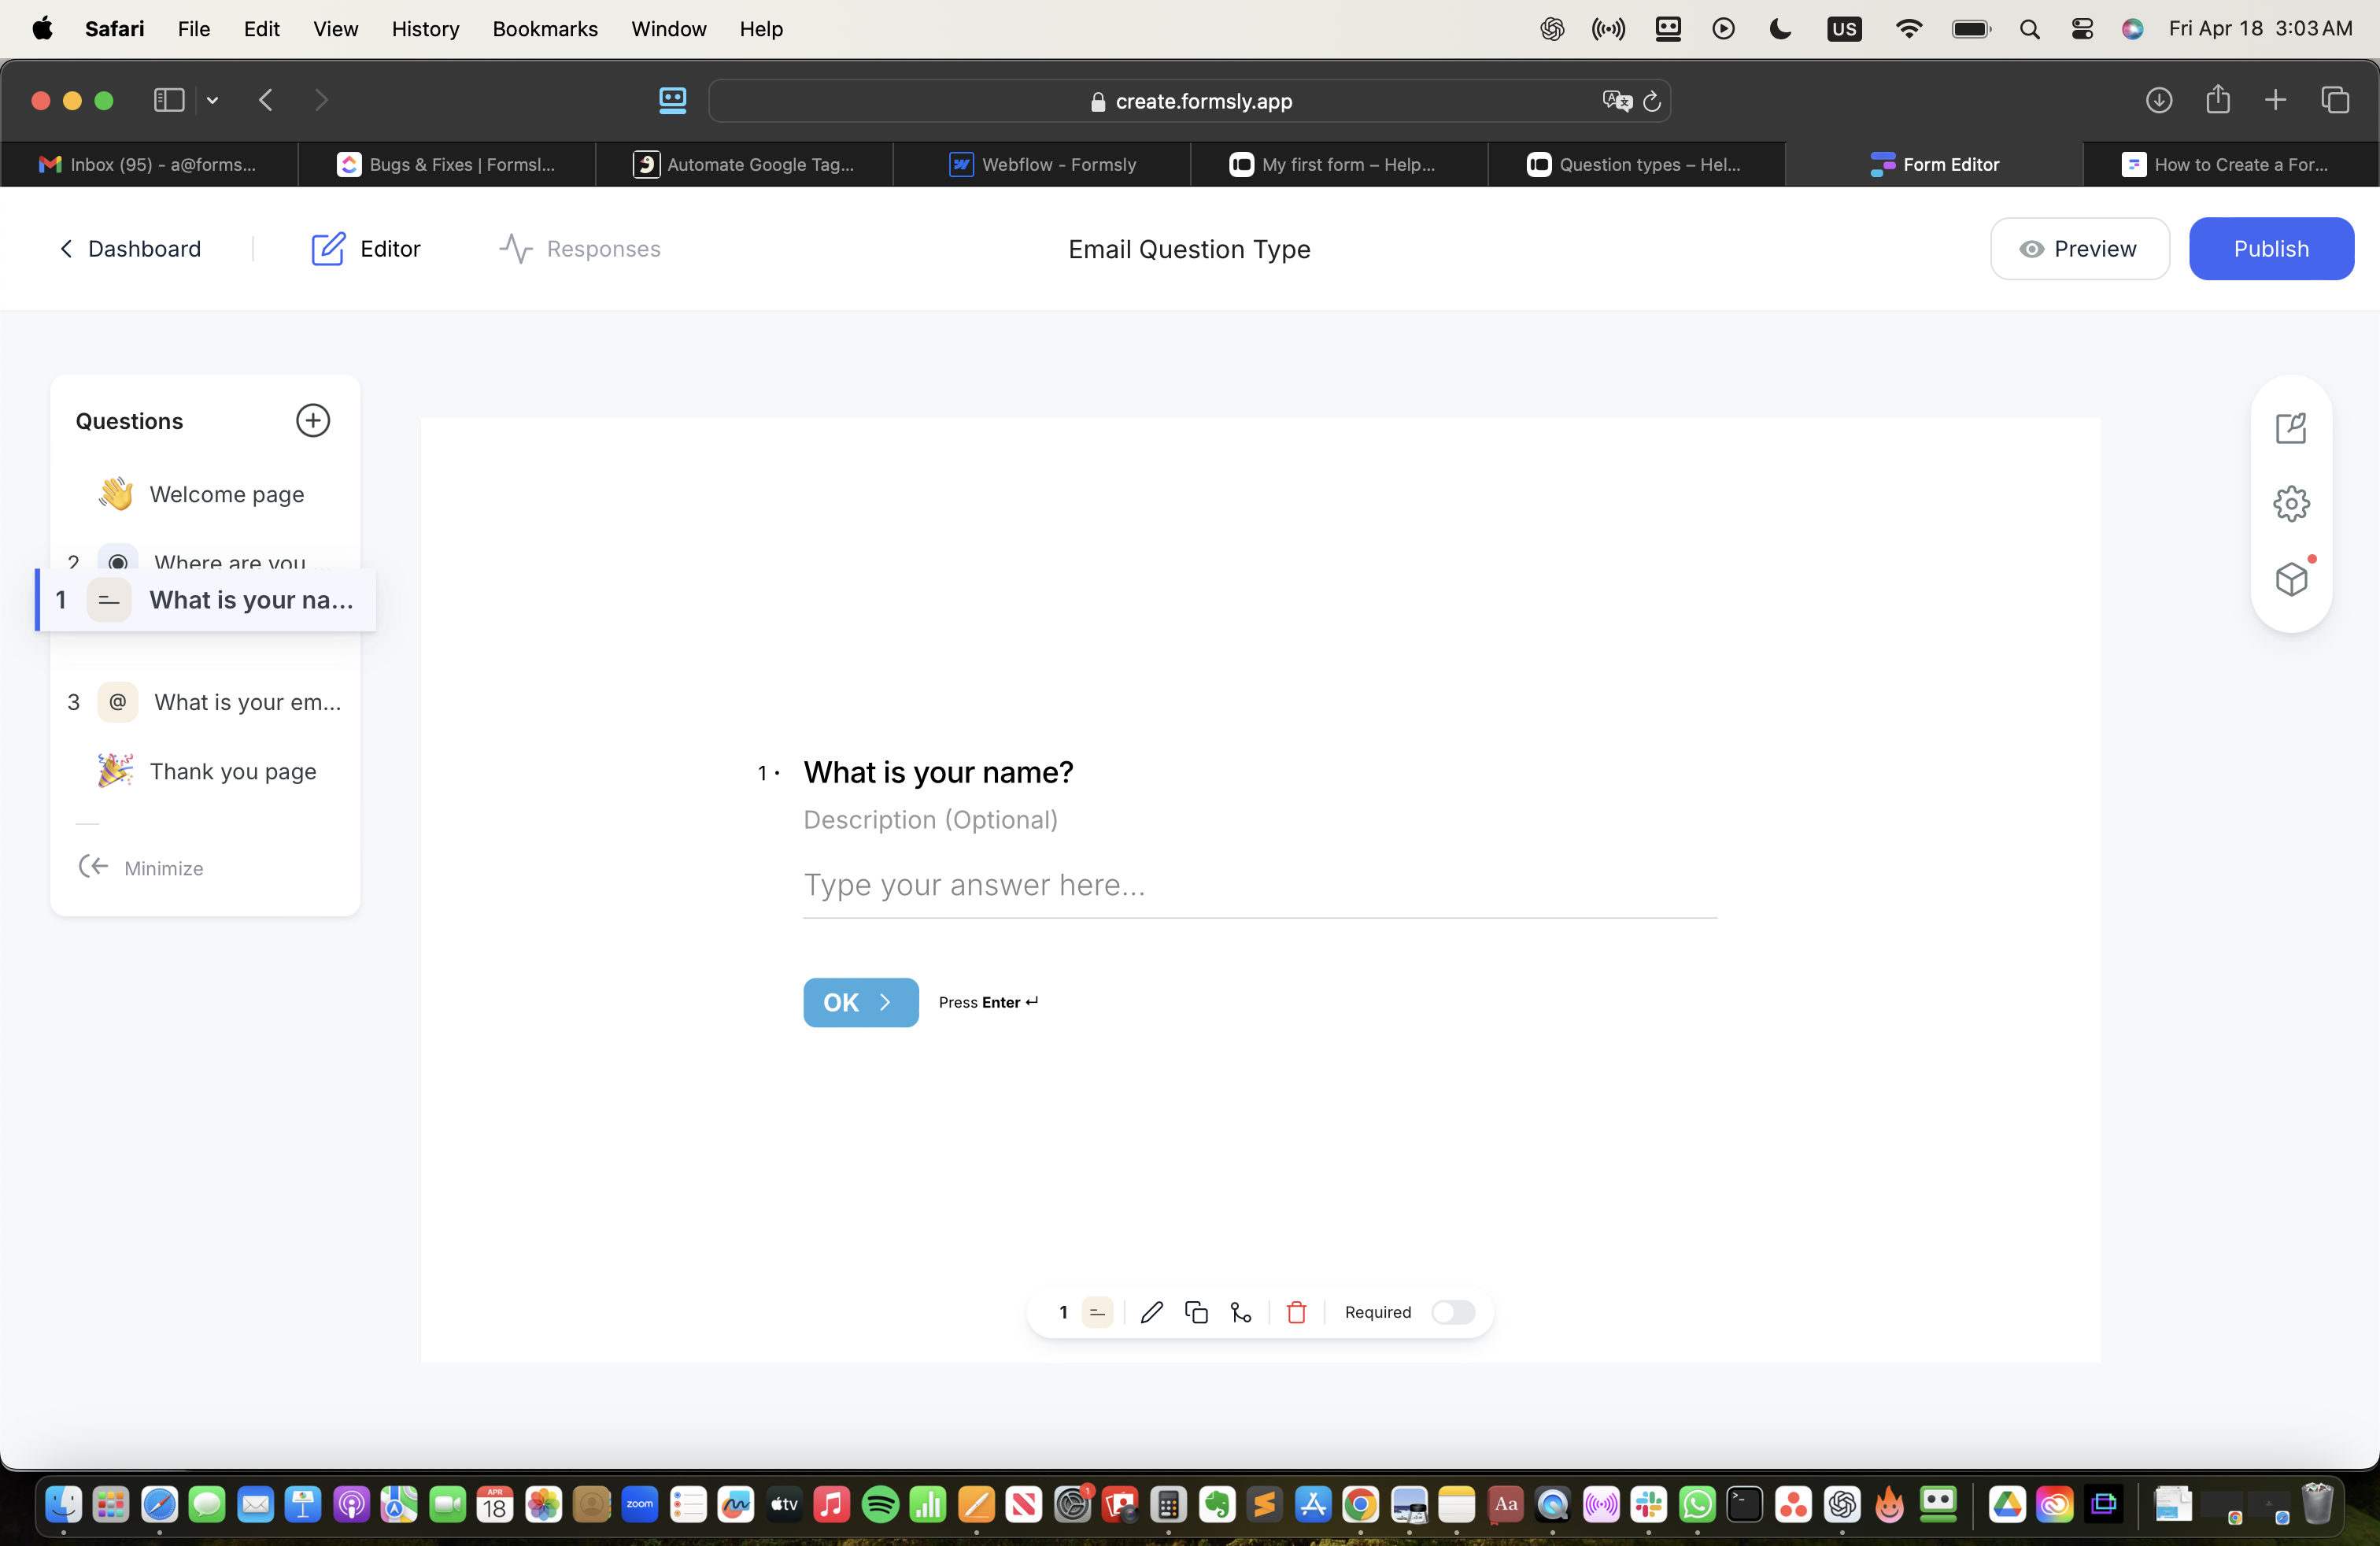
- C. We've selected a Short Response question type. Just click into the Your question here field and start typing your masterpiece.
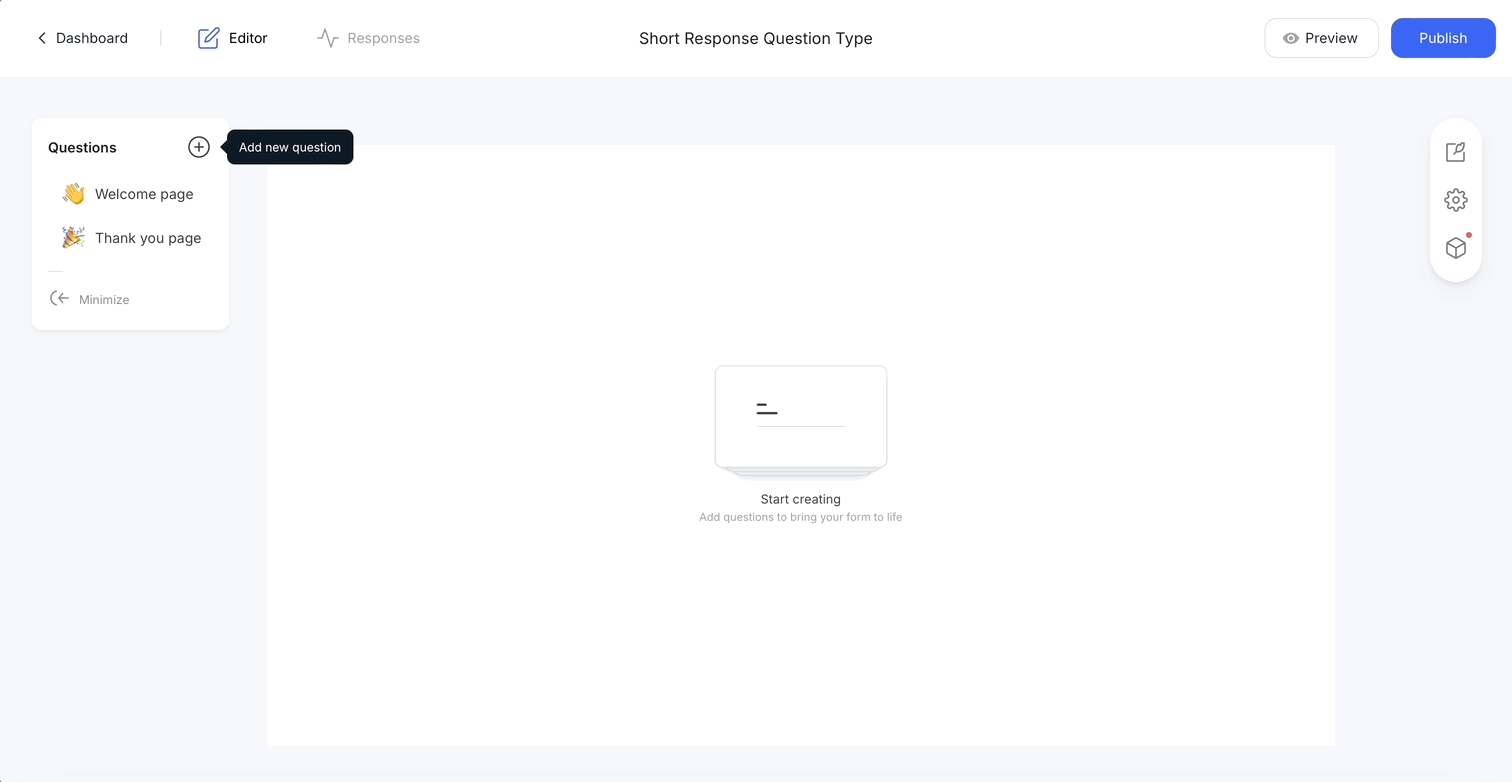
- D. To add another question, click the "+" button on the top left and the Question Type Menu will pop-up again.

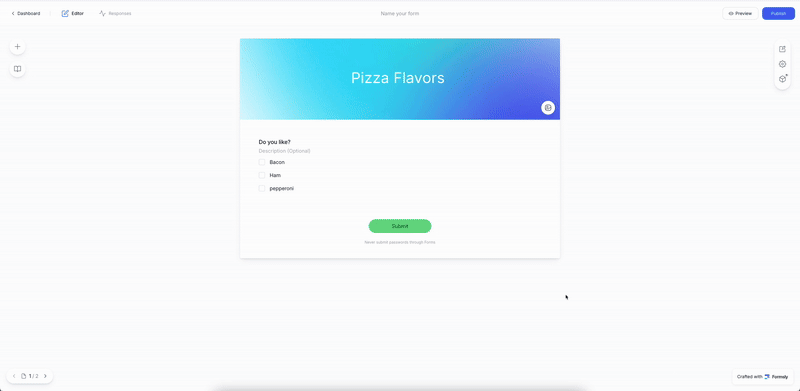
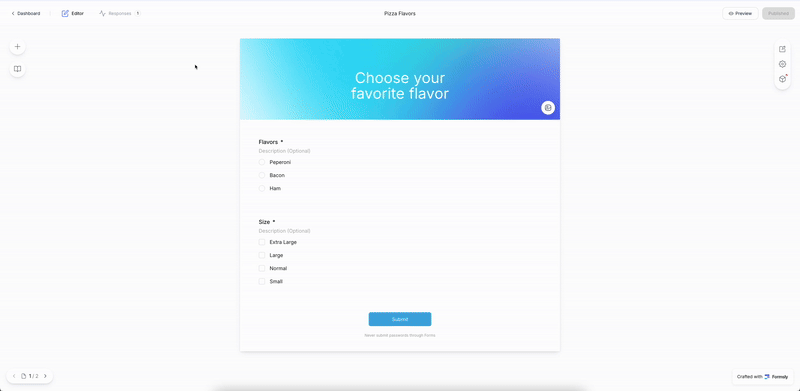
- E. Let’s choose a Multiple choice question and enter your answer options.

- See it as you build it! Our editor shows you exactly what your form will look like, every step of the way.
- F. You can change question settings in the menu at the bottom of the page. The options available will vary depending on the type of question you've selected.

- G. Duplicate a question by clicking the following icon ⿻ or delete a question by clicking the red trash icon in the Question Settings Menu
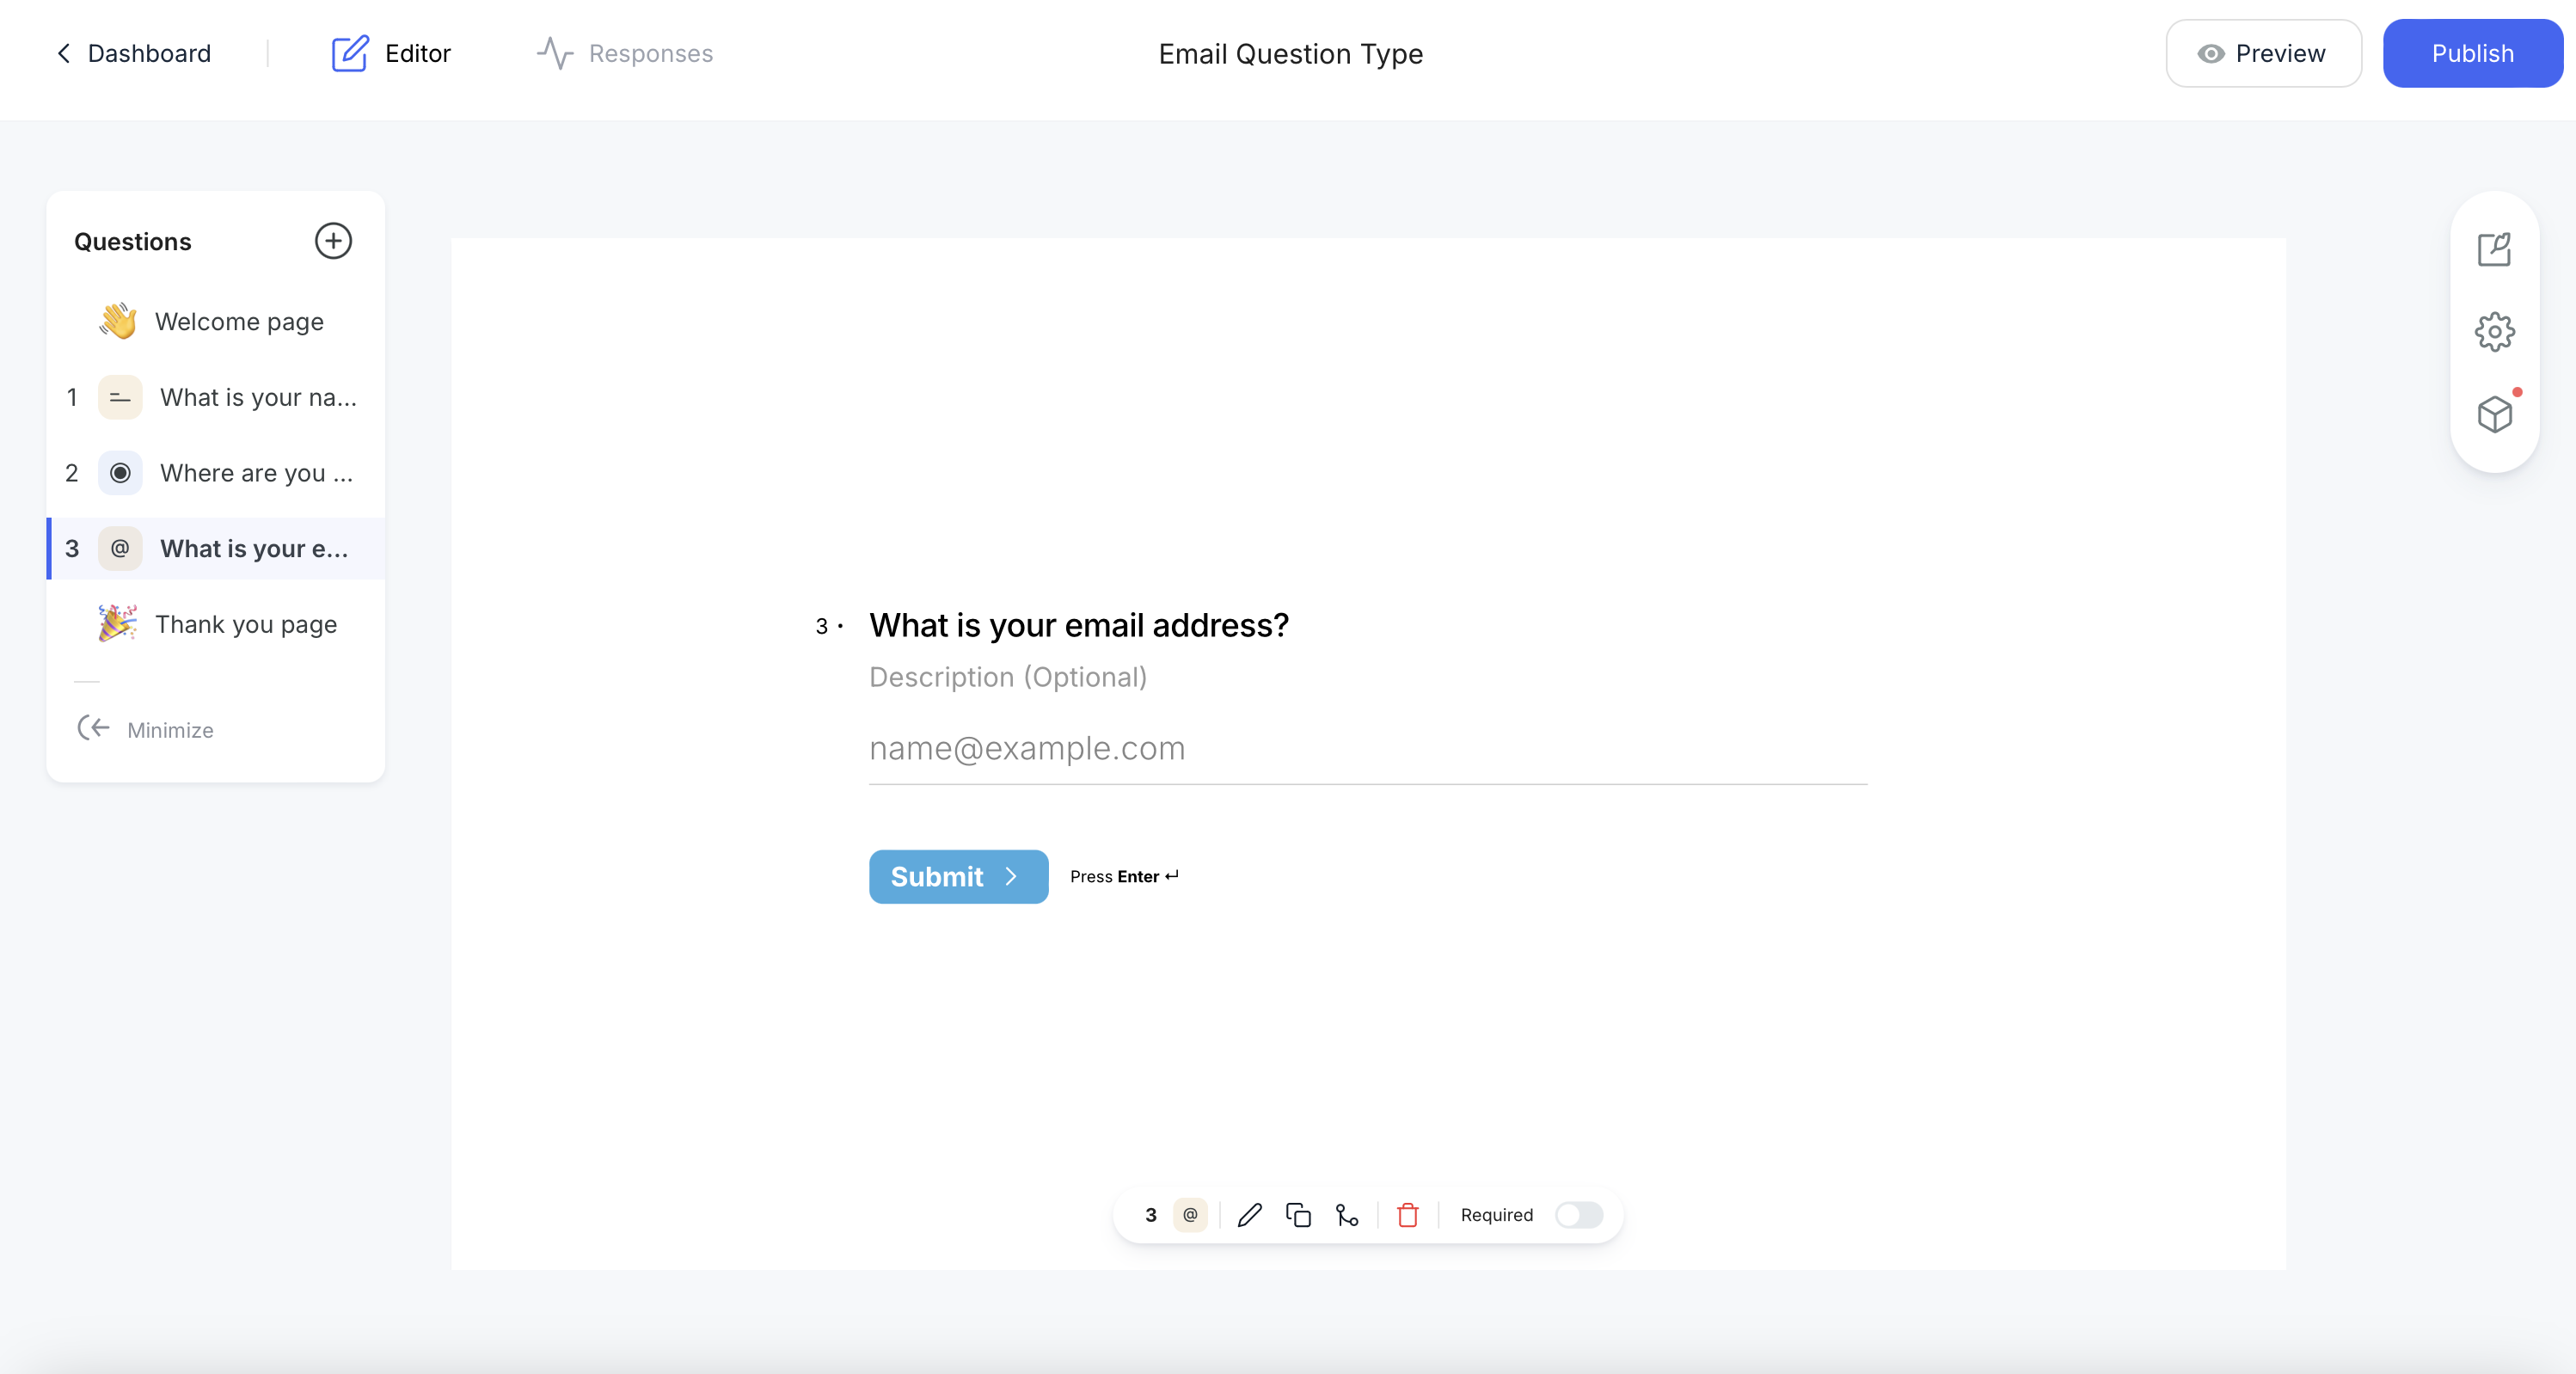
- H. As our last question in this guide, let's add an Email question. Click the "+" button on the top left and pick "Email" from the question list, then go ahead and type your question. Easy as that.
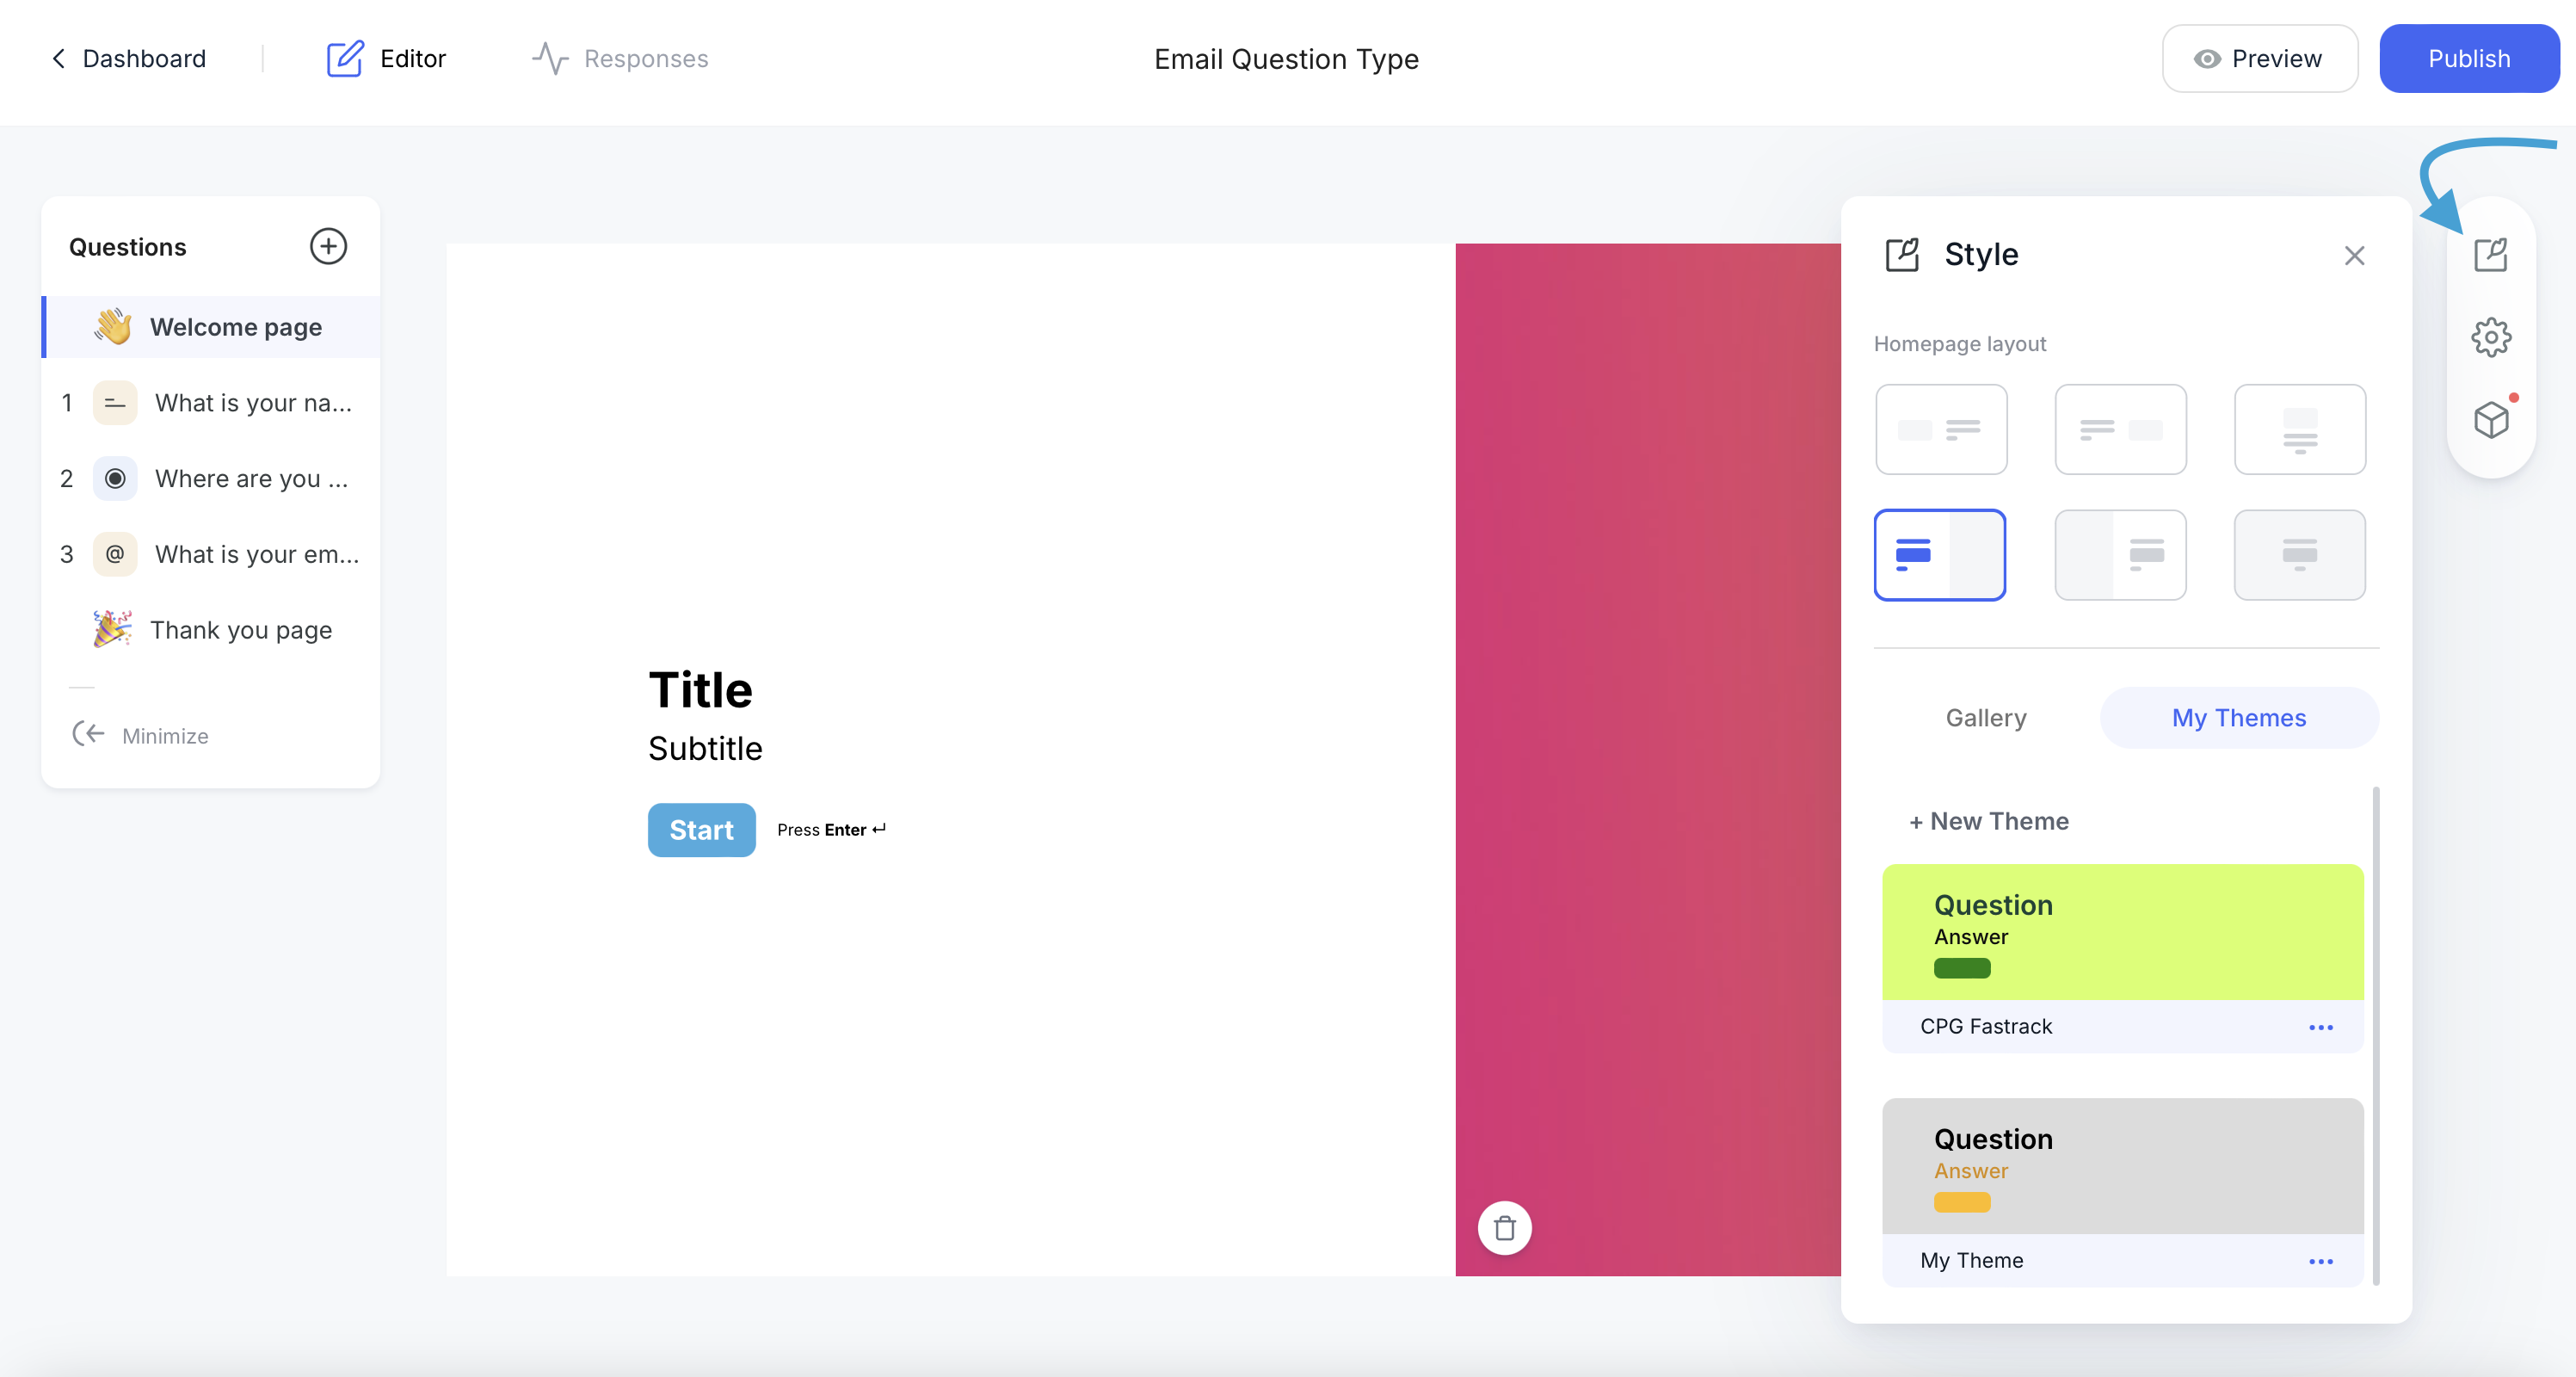
- I. Let's bring your form to life by adding an image in the Welcome Page, click the image icon on the bottom right corner to browse our backgrounds and image gallery or upload your own.

- J. Click on the Style Button to change fonts, colors, and give your form some personality.
- K. Need to reorder your questions? Just drag and drop them from the left panel — click, hold, and move them wherever you like.
Step 4: Preview Your Form
- 1. Click on the "Preview" button to see how your form will look to respondents.
- 2. Test the form by answering the questions.
Step 6: Publish Your Form
- 1. Click on the "Publish" button.
- 2. Copy the form link to share it with respondents.
Saving
- Build freely — we’re saving as you go. Just remember to hit Publish when you’re ready to go live.
You can't share your form, set up integrations, or send follow-up messages until you publish it. When you click Publish, your form goes live, and anyone with the link can see it. You can publish your form from multiple places.